
Last updated November 18, 2026
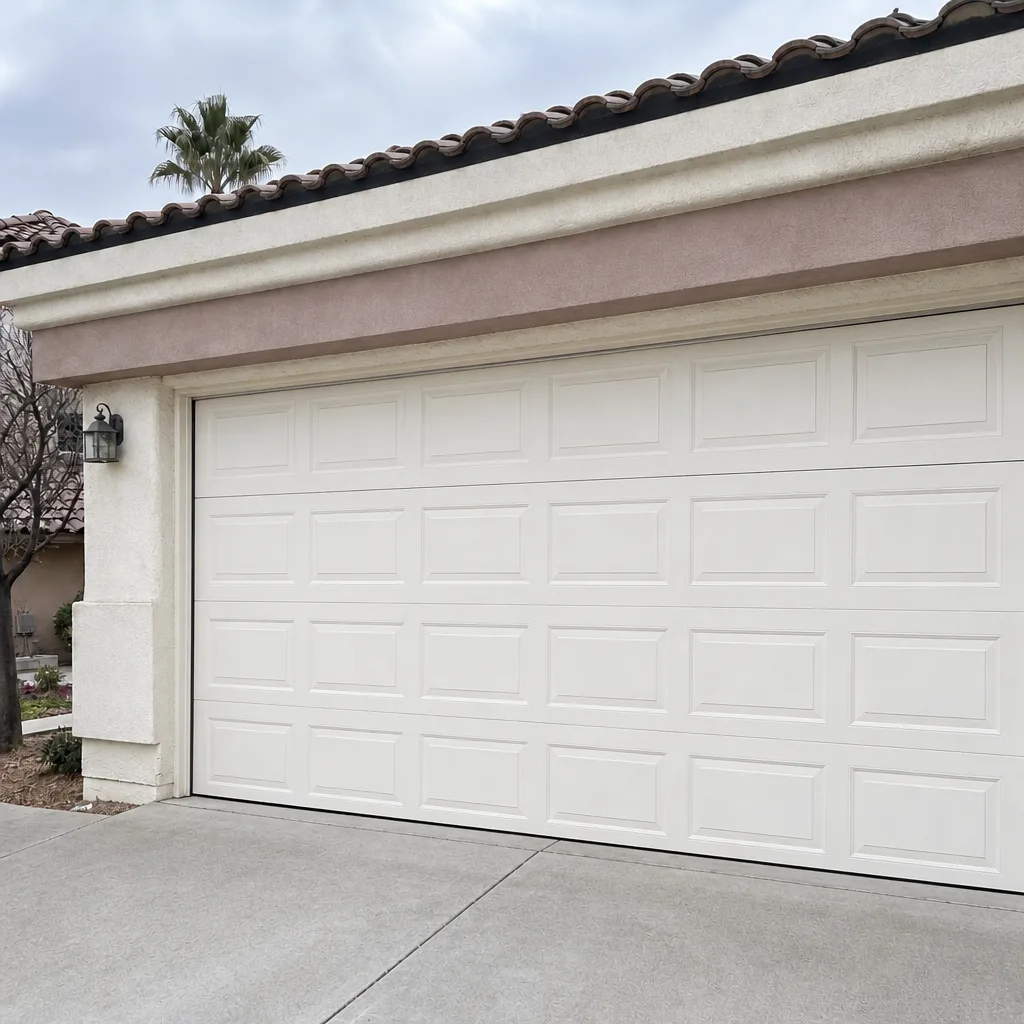
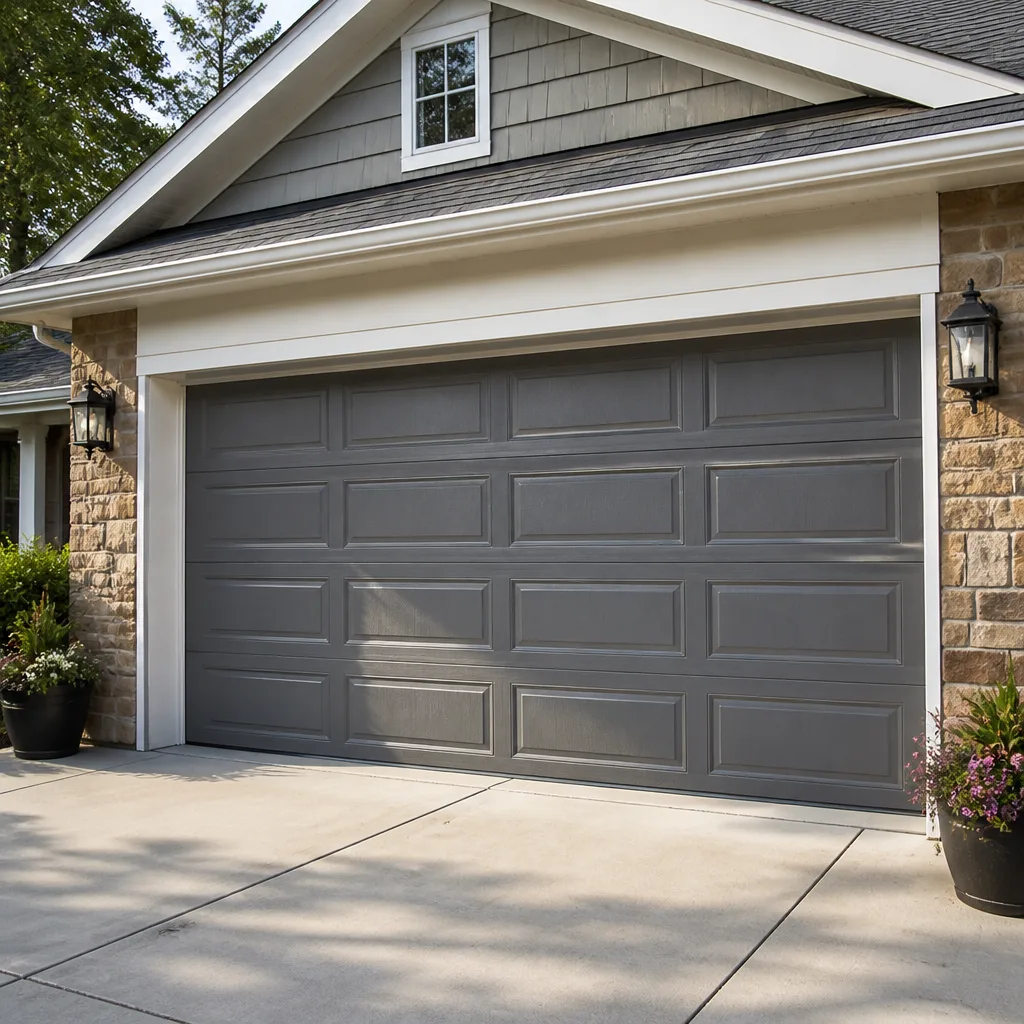 Raised-panel steel
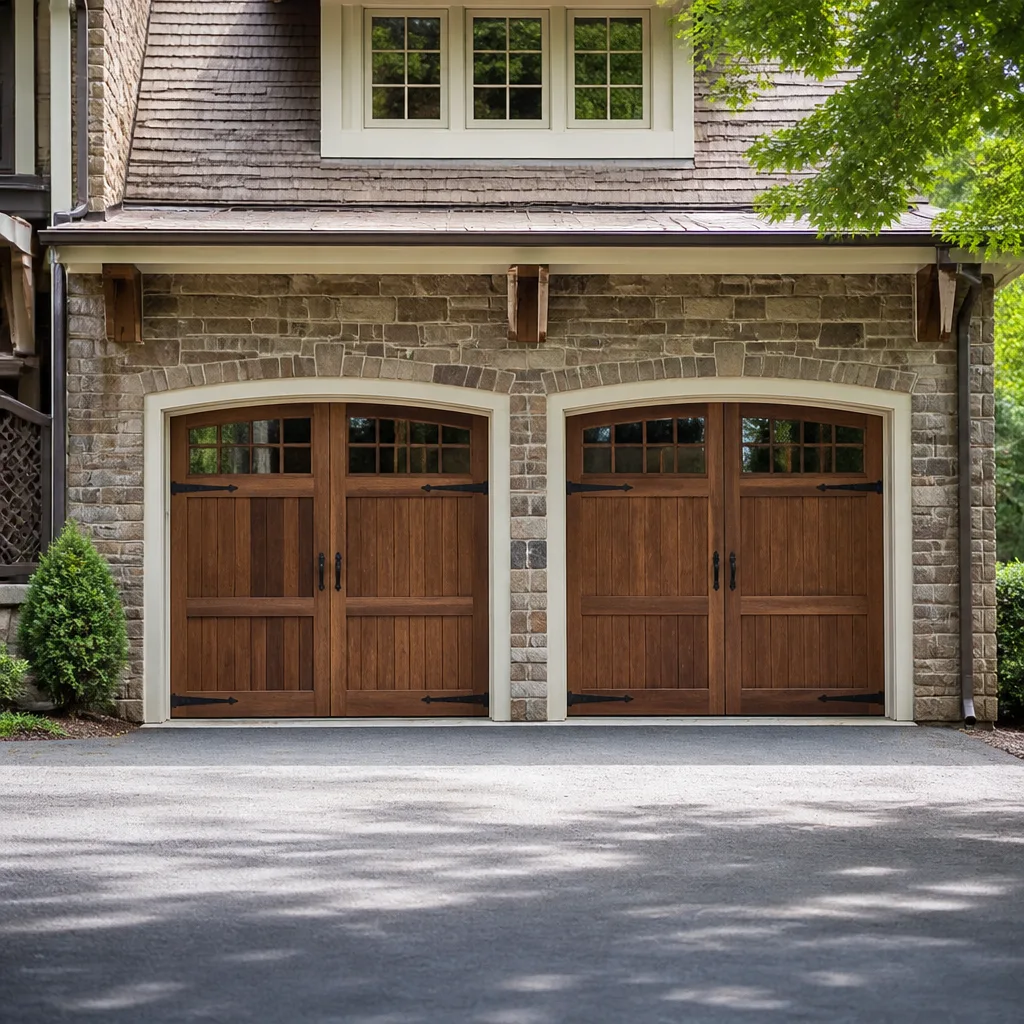 Carriage house
 Modern flush
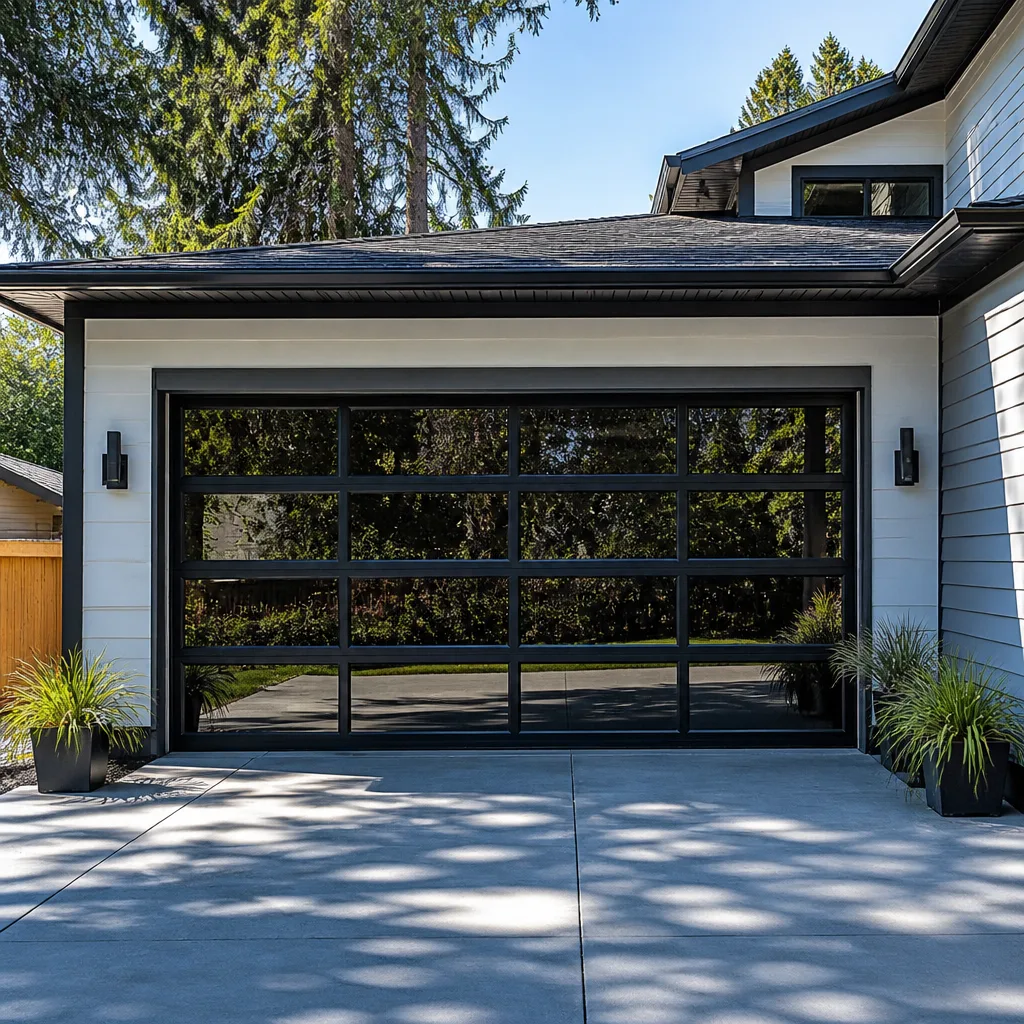 Full-view glass
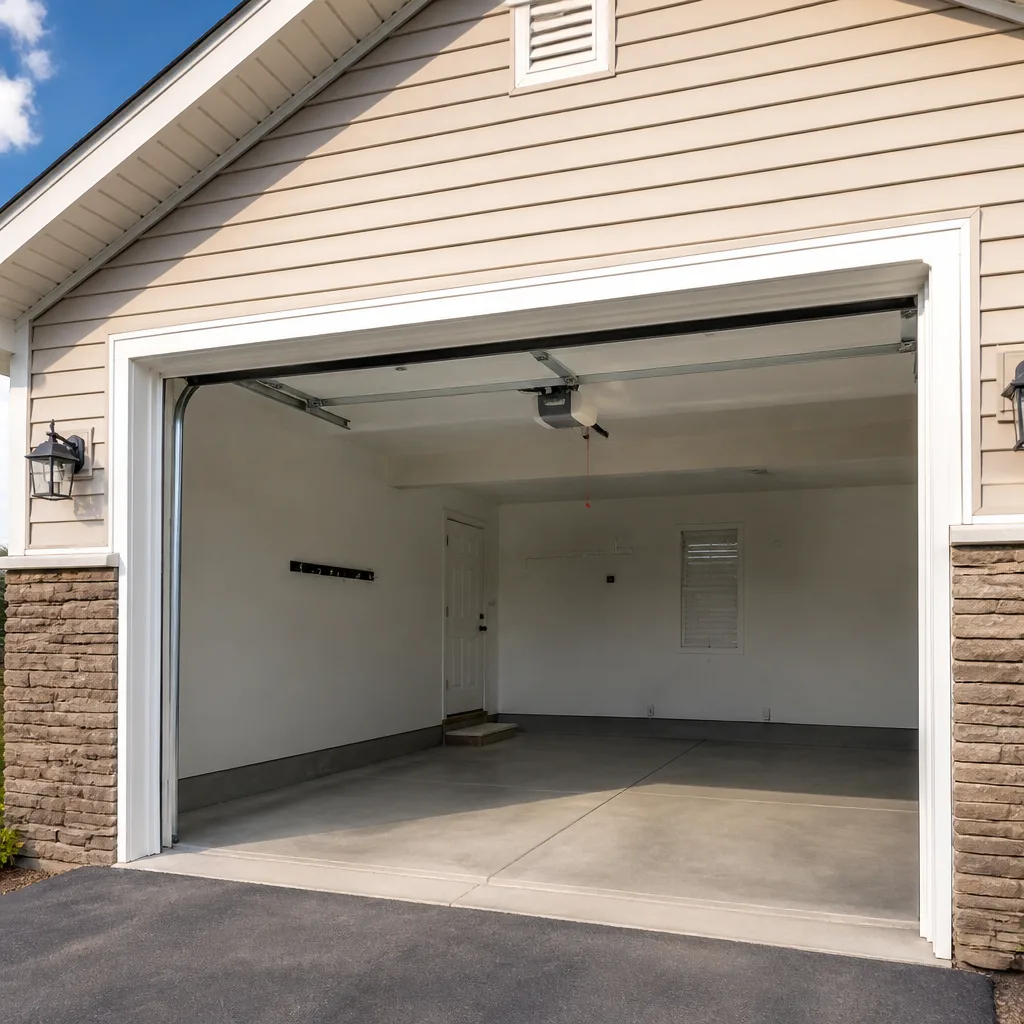 LiftMaster openers
 Chamberlain openers
Full 25-point door and opener safety check with every visit - springs, cables, rollers, tracks, and your LiftMaster or Chamberlain opener included
You get a price before we start. It does not change when the pro arrives.
Get your free estimateDIY vs Professional Garage Door Installation: What’s Safe to Do Yourself
A garage door installed by a capable DIYer with the right tools and a weekend to spare will likely work. It will also likely be slightly unlevel, slightly out of square, and within a year will be wearing its rollers and hinges unevenly because of it. We’ve seen the result in Boulder City more times than we can count: a door that runs, sort of, and eats a set of nylon rollers every eighteen months. This guide is about the gap between a door that works and a door that’s right. It covers the tolerances that matter, which subtasks a skilled homeowner can safely handle, which ones need trade knowledge, and how to read an installation quote so you know what you’re actually buying.
Quick Answer
You can safely handle the homeowner-side work: measuring the opening, clearing the space, removing trim, and assembling sectional panels at floor level. You should not tension a torsion spring, anchor a winding assembly, or set final track alignment yourself. Those three tasks carry the injury risk and the precision demands that decide whether a door runs true for fifteen years or fights its opener for three. On a typical Boulder City installation, the difference between a DIY job and a professional one shows up in the first hundred cycles.
Styles & brands we work with
- Raised-panel steel
- Carriage house
- Modern flush
- Full-view glass
- LiftMaster openers
- Chamberlain openers
Table of Contents
- The Tolerances That Decide a Good Installation
- What a Reliable Installation Actually Requires
- DIY-Safe vs Trade-Only: A Task-by-Task Breakdown
- Spring Sizing and the Opener That Dies at 18 Months
- Warranty Implications of a DIY Installation
- What a Professional Installation Should Include
- How to Audit an Installation Quote
- Boulder City Climate and Why It Matters
The Tolerances That Decide a Good Installation
A garage door is a system of moving parts under constant tension between two walls. The panels stack, the tracks guide, the springs carry. Every component has a tolerance, and each one multiplies against the others. A flat, level floor helps. So does a square opening. The problem is that most garages in Boulder City, particularly the older ones built during the Hoover Dam construction era, were not framed to cabinet-grade standards. A half-inch of variation across a sixteen-foot opening is common. A professional installer measures that variation and shims the tracks to compensate. A DIYer usually discovers it after the door is hung.
Track Plumb and Horizontal Level
Vertical tracks must be plumb within a quarter-inch from floor to header. Horizontal tracks must be level within the same tolerance, and both must be parallel to each other or the door will bind on one side. On a sixteen-foot door, a quarter-inch of deviation translates to visible wobble and acceleration of roller wear. The tools to hit this reliably are not expensive; a good eight-foot spirit level, a plumb bob, and a laser line if you have one. What costs money is the experience to know that a garage floor sloping toward the drain is normal, and that the door sits plumb to gravity, not to the slab.
Spring Tension
Torsion springs must be wound to a specific number of turns, calculated against the door’s weight, height, and track radius. A quarter-turn off in either direction changes how the opener compensates for the door’s weight across the full travel. We cover this in detail further down, because the symptom, an opener that works but grinds through its motor in a year and a half, is one of the most common consequences of a DIY install. If you’re not comfortable with the physics of spring tension, our Garage Door Installation in Boulder City page explains what a measured, scheduled installation looks like when the tension is set correctly.
What a Reliable Installation Actually Requires
The tool list for a proper installation is longer than most DIY videos suggest. Here’s what a journeyman carries into a job, and what you’d need to match the result:
- A winding bar set. Two solid steel bars, matched to the spring cone. Not a screwdriver. Not needlenose pliers. Winding bars prevent the “spring slip” injuries that account for a large share of garage door emergency calls.
- A laser level or a long spirit level. Eight feet minimum. Track plumb is a two-person job without one.
- A socket set, torque wrench, and a good impact driver. Lag bolts into wall studs need consistent torque; over-tightening splits a stud, under-tightening lets the track walk.
- C-clamps. To lock panels in place during installation and prevent the door from flying up the track during spring winding.
- A spring scale. To confirm tension is balanced and the door will hold position mid-travel without drifting down or up.
- A helper. Panels are heavy, and lifting them into place solo is a shoulder injury waiting to happen. A sixteen-foot Clopay panel runs nearly a hundred pounds.
If you’re missing three or more of these, your weekend install is going to be a series of substitute tools and workarounds. Each workaround introduces a quarter-inch of error somewhere. If you’d rather skip the tool list entirely, our Garage Door Repair in Boulder City page links the alignment issues back to what a service call resolves.
DIY-Safe vs Trade-Only: A Task-by-Task Breakdown
Not all of a garage door install is dangerous. Roughly half the work is genuinely within reach for a homeowner who’s handy and patient. The other half is where things go wrong. Here’s how we’d sort it:
- Measure the opening and order the door. DIY-safe. Measure width at three points and height at two; take the smallest number. Bring those numbers to a supplier and order the correct size.
- Clear the garage and remove the old door and tracks. DIY-safe, with caution. The old door is heavy. Have a helper and unhook the opener first. Leave the old springs alone; if they’re still under tension, they need to be unwound by someone trained.
- Assemble the new panels flat on the floor. DIY-safe. This is where a helper pays for themselves. Use the manufacturer’s fasteners, not hardware-store substitutes.
- Position and stack the panels in the track. DIY-safe, with a second set of hands. A door that goes in crooked will stay crooked until the tracks are pulled and re-set.
- Anchor the tracks, plumb and level. DIY is possible but risky. This is where most DIY doors fail. A quarter-inch of drift at this stage is the beginning of the roller wear problem.
- Mount the spring anchor bracket to the header. Trade-only. The lag bolts hold hundreds of pounds of stored tension. If the header isn’t structural, this task requires opening the wall; a pro knows how to check.
- Wind the torsion springs. Trade-only. Highest injury risk in the entire trade. No DIY substitution exists.
- Install the opener and balance the door. DIY-risky. Opener brand compatibility matters (LiftMaster and Chamberlain rails differ from Genie on some models), and a door that isn’t balanced will fight any opener you hang on it.
If you do one step and stop, make it step five. Even a homeowner who plans to hang their own door can call a pro to come behind them and true up the tracks. That’s the smallest possible service call and the largest single upgrade to how the door runs.
Spring Sizing and the Opener That Dies at 18 Months
Torsion spring sizing is not guesswork, but it looks like it from the outside. The spring’s wire gauge, inside diameter, and length are matched to the door’s total weight, the drum’s cable path, and the track’s radius. Change any one of those and the spring must change with them. A DIYer who buys a semi-custom door kit gets a spring that was sized at the factory for a typical installation. That’s fine until the door is heavier or lighter than the factory assumed, or the install sits slightly higher or lower on the tracks than the factory spec. The spring runs the door, but it carries the wrong share of the weight.
Here’s where it goes bad. An opener working against a mis-sized spring has to compensate, and it compensates by running the motor longer and harder to lift the door. A 3/4-horsepower unit rated for a standard seven-foot door, pushing an eight-foot door with an undersized spring, will run hotter every cycle. Motor brushes wear faster. The gear set wears faster. The capacitor fails. In our experience, that’s the eighteen-month to two-year opener death that owners often blame on the brand. It’s not the brand. It’s the spring.
How to Tell You Have the Problem
- The door feels heavy when you lift it by hand, or it won’t hold position at halfway up.
- The opener strains audibly at the start of each cycle, or beeps or pauses before lifting.
- You’re on your second opener in under four years.
- The door drifts down a few inches within an hour of being fully open.
If any of those sound like your situation, the fix is often a spring re-size, not a new opener. Our Garage Door Opener in Boulder City page covers the diagnostic path; a LiftMaster or Chamberlain unit paired with a correctly sized spring will run quiet for years. A brand-new one fighting a bad spring will not.
Warranty Implications of a DIY Installation
Most door manufacturers void their product warranty on a DIY installation. This is the part of the decision that often gets overlooked in the weekend-project videos. Clopay, Amarr, and Wayne Dalton typically require installation by a qualified dealer or installer for the full limited lifetime warranty on the door sections and hardware. Some warranties survive a DIY install on the panels but drop coverage on the springs, hinges, and rollers. Read the fine print before you order, because the spring and the hardware are the parts that wear first, and they’re the parts you’re most likely to need covered.
What that means practically, for the largest moving part of your house:
- Section delamination or rust-through: usually covered on a pro install, often not covered on a DIY install after the first year.
- Spring failure in the first 10,000 cycles: covered on a pro install through the manufacturer, or through the installer’s own workmanship warranty. Not covered on DIY unless you buy the spring separately through a dealer who pays the claim.
- Opener warranty: LiftMaster and Chamberlain require professional installation for their full warranties in many cases; check the specific model.
- Labor: always separate. Even a pro-installed warranty covers the part, not the trip to your house.
That last point is where a written workmanship promise matters. Our 90-Day Done Right Promise is the layer on top of the manufacturer warranty. If the door isn’t running right, we come back. We put it in writing on every job because the alternative, arguing over whether the issue is the product or the installation, is a conversation nobody wants to have with their door halfway open.
What a Professional Installation Should Include
The items below are what separates a pro installation from a DIY one, and what most DIY installations silently omit. Ask for every one of them by name when you compare quotes:
- On-site measure. Width at three points, height at two, and a check of the header for structural adequacy. A pro measures the actual opening, not the door you think you need.
- Removal and disposal of the old door, tracks, and springs. Disposal is a real line item; if your quote doesn’t state it, ask.
- Spring sizing to the actual door. Wire gauge, inside diameter, and length specified against the installed door weight. Not “standard spring for a 7-foot door.”
- Track alignment to the slab. If your garage floor slopes, the tracks shim to plumb, not to gravity-wrong-as-framed.
- Opener calibration. Force limits set per the opener manufacturer, safety reverse tested twice (once with a 2×4 on the slab, once with the photo-eye blocked), and travel set to the door’s actual range.
- Balance and cycle test. Twenty full cycles run before the installer leaves, with the door checked for drift and the tracks re-checked for walking.
- Written warranty on labor. The manufacturer covers the part. Whoever installed it should cover the install.
- Cleanup and haul-away. Packaging, old hardware, and any floor debris.
If a quote is missing two or three of those, the price isn’t lower. It’s a narrower scope. Compare apples to apples, not dollar to dollar.
How to Audit an Installation Quote
When the quote lands on your kitchen table, audit it in this order:
- Does it state the door model and size by name? “16×7 steel door” is not a spec. “Clopay Bridgeport, 16×7, insulated, model number on file” is.
- Does it list the spring spec? If the spring isn’t specified by gauge and length, the installation is using a stock spring, and the spring was probably chosen before the tech saw the door.
- Does it bundle removal and disposal? If not, add $75 to $150 for haul-away in the Boulder City area.
- Does it spell out the labor warranty? “Manufacturer warranty” is not a labor warranty.
- Is there a price adjustment clause? A quote that says “plus materials” isn’t a quote, it’s an estimate. Get the flat price before work starts. That’s a rule, not a preference.
- Does it include a post-install cycle test? Twenty cycles run before the tech leaves the driveway should be standard. If it’s not in the quote, ask for it in writing.
A good quote survives this audit. A weak one folds. Bring the quote to us and we’ll give you a free second opinion on any written estimate, no pressure, no obligation. That offer stands for any written estimate, from any installer.
Boulder City Climate and Why It Matters
Boulder City is a dry, hot, high-desert climate, and that fact shapes installation in ways a generic guide won’t tell you. Summer attic temperatures push past 140 degrees, and the steel door sections heat-expand more than they do in a coastal climate. A door installed with tight tolerances at 75 degrees can bind against its tracks by noon in July. A door installed with loose tolerances rattles in the winter when the metal contracts. The correct tolerance target here is a door that runs at both extremes, which is why fall and spring are the good install months and why we leave slightly more side clearance on Boulder City jobs than a coastal installer would.
The other climate factor is dust. Boulder City sits at the edge of the Mojave, and windblown grit finds its way into nylon rollers and hinges faster than it does in wetter climates. Rollers replaced on a typical American schedule last two-thirds as long here. That’s part of why initial alignment matters so much; a door that’s a half-degree off will channel that grit into one side of the roller and wear it twice as fast as the other. The effect is quiet in the first year and obvious by year three.
We also pay attention to the older garages around the historic district, many of them built when Boulder City was a federal reservation town in the 1930s. Those openings were framed to standards that don’t line up with modern door sizes, and a half-inch of shimming is normal. If your garage is one of those, an on-site measure will catch what a tape measure alone will miss. You can read more about the local service approach on our Mainspring Garage Door Co. Boulder City home page.
Common Mistakes to Avoid
- Using the factory spring without checking door weight. The most common DIY mistake. The symptom is an opener that sounds strained from the first cycle. In Boulder City heat, that strain shows up in the motor sooner than you’d expect.
- Leveling tracks to the floor slab, not to plumb. Slabs slope toward drains and doors here. A door plumbed to the slab will run crooked for as long as it’s installed.
- Skipping the balance test. A door that should hold at halftime travel and drops instead is a door whose spring is set wrong. Every cycle, the opener has to correct it.
- Installing above a header that isn’t structural. The spring anchor bracket takes hundreds of pounds of tension. If the header is a decorative face board, the installation needs an upgrade before anything gets mounted.
- Re-using the old tracks. Cheaper in the short run. By year three, the door is wearing unevenly against tracks that were already out of true.
- Buying on price alone. A quote that’s $200 lower is almost always a narrower scope. Removal, disposal, spring sizing, and cycle test are line items. If a quote skips them, it’s not cheaper, it’s smaller.
- Tightening lag bolts into hollow drywall backing. Common in older garages where a stud is one bay over from where the door spec expects it. The track walks under load, and the walking gets worse each cycle.
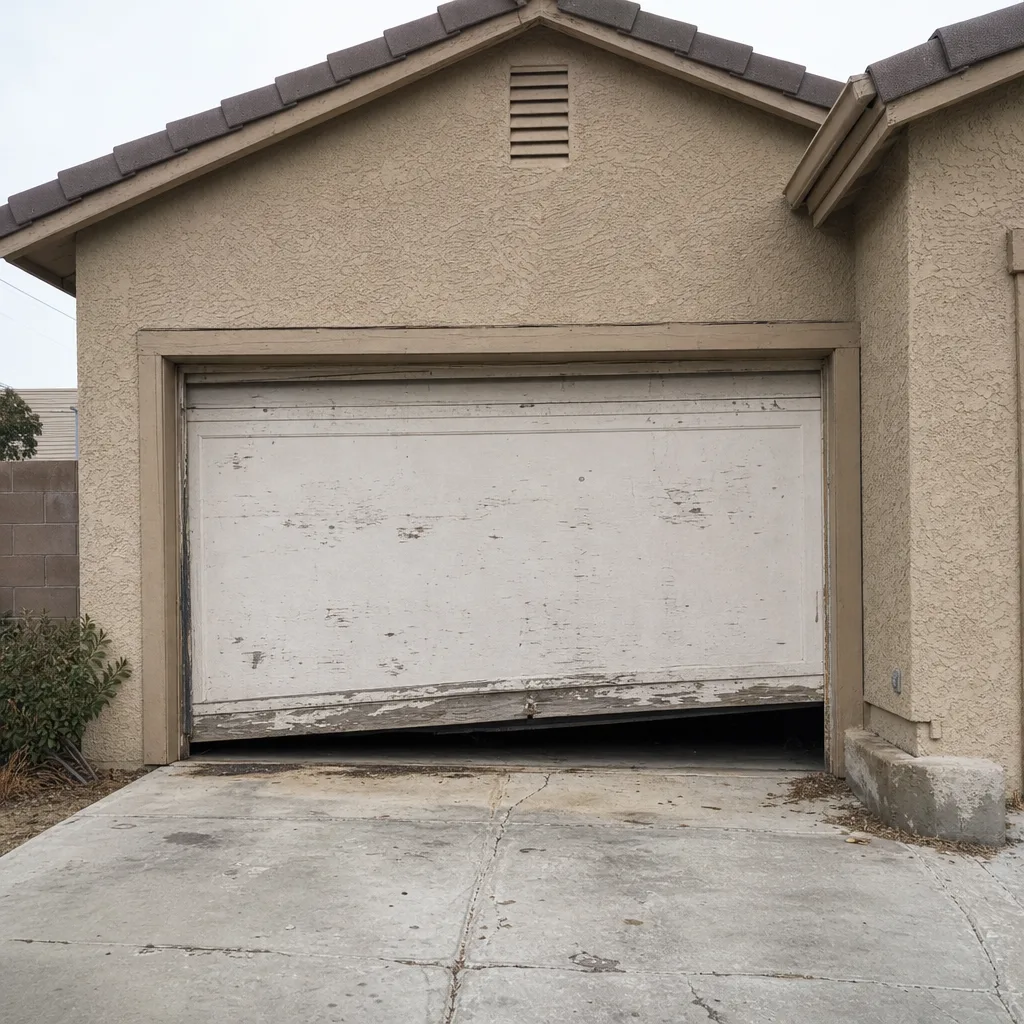
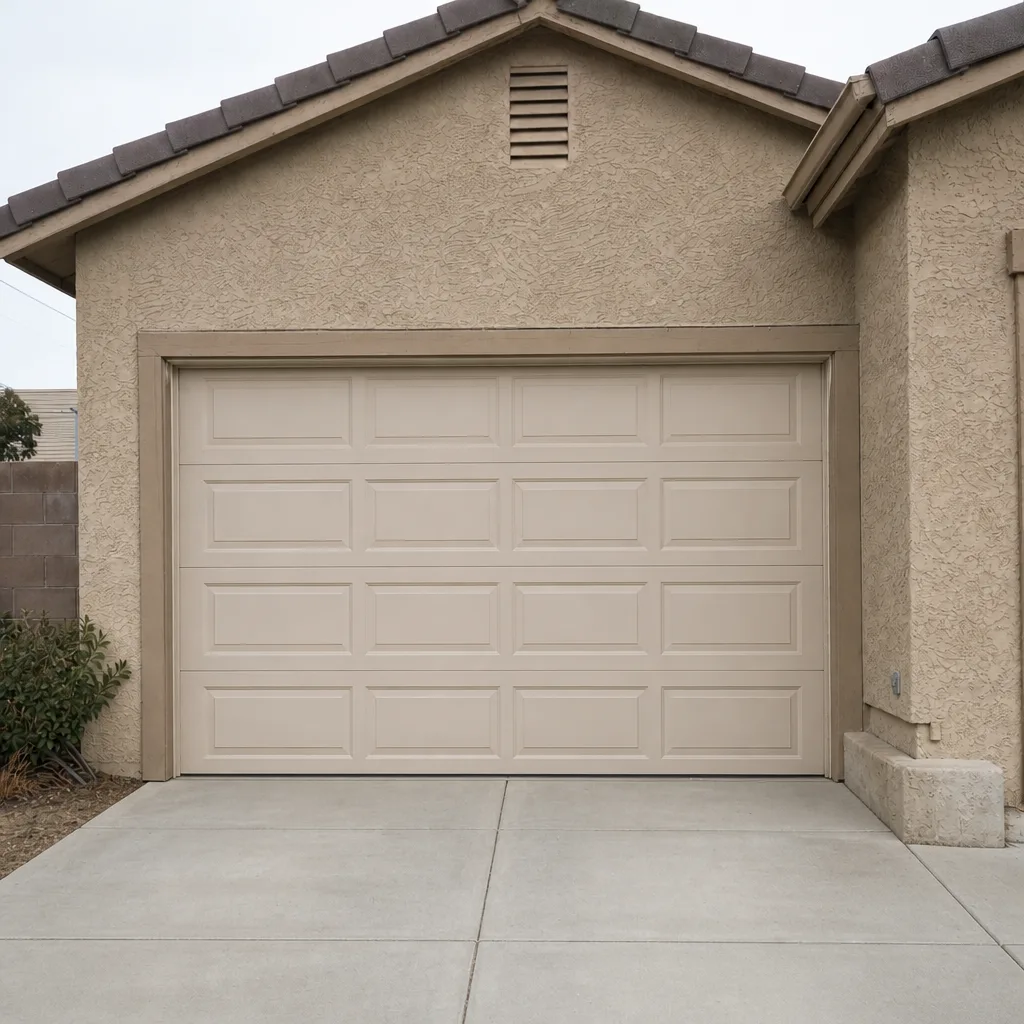
See the difference
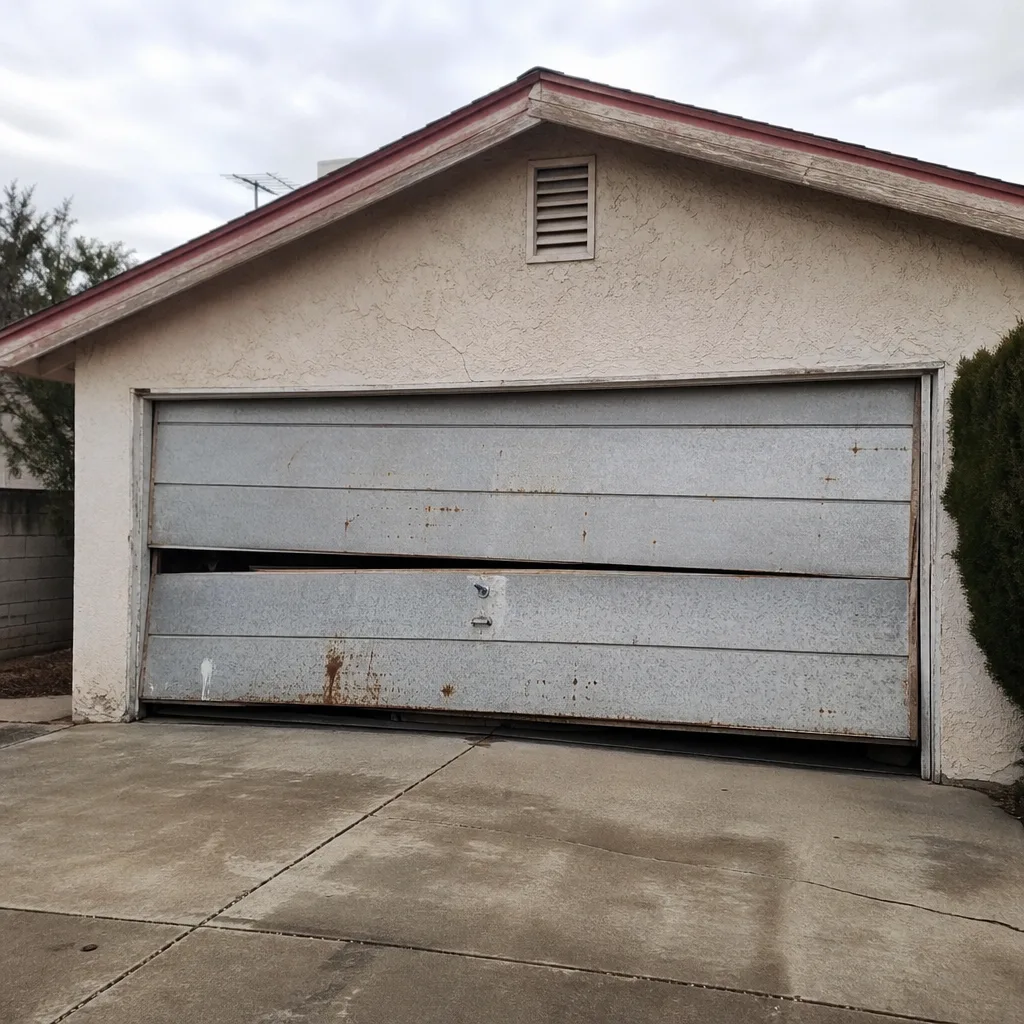 Before
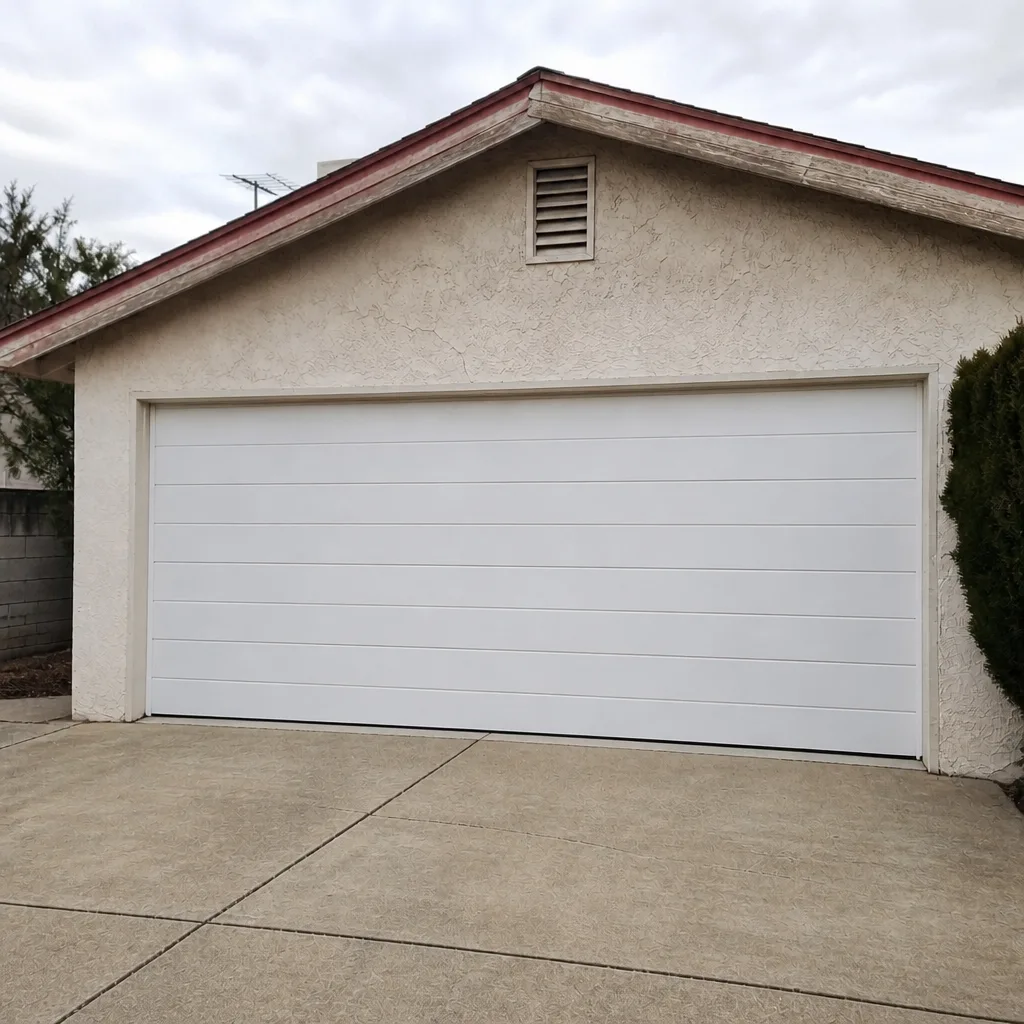 After
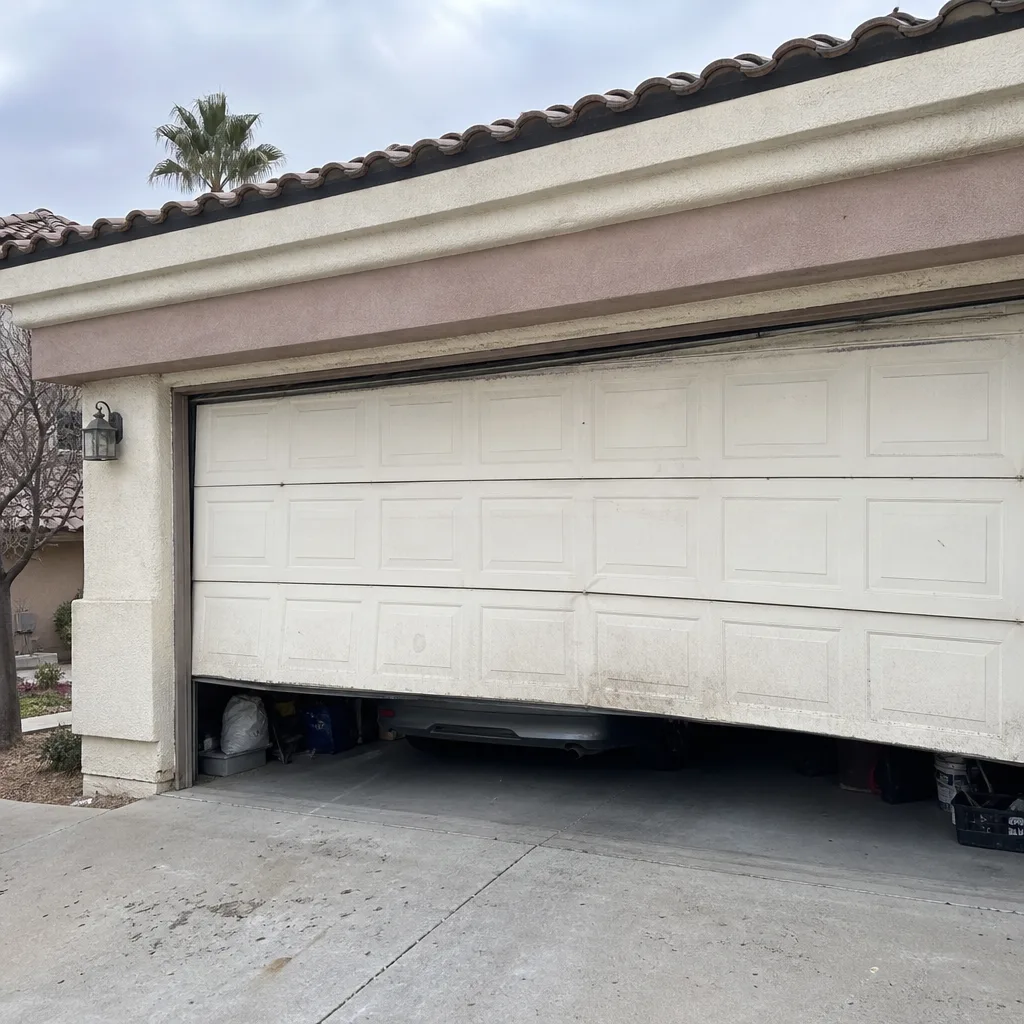 Before
 After
 Before
 After
When to Call a Professional
Any time the spring has to be wound, unwound, or re-sized, call a professional. That’s the top of the list and there’s no DIY substitute for it. Beyond springs: if your header isn’t clearly structural, if the tracks need to be tied into framing, if the opener is fighting the door, or if you’ve bought a door and just want the tracks trued up behind your own installation, the call is worth making. We’ve seen too many Boulder City homeowners spend a weekend on an install that would have taken a journeyman two hours and cost less than the opener they ended up replacing a year later. Our technicians have up to 10 years of experience, and they bring springs, cables, and openers on the truck so most jobs finish in a single visit. Mainspring Garage Door Co. Boulder City offers free estimates in Boulder City. Call (833) 605-8582.
Frequently Asked Questions
You can safely handle the measuring, the removal of the old door, the assembly of the new panels, and the positioning. Any task that involves the torsion spring, the winding assembly, or final track alignment should be done by a trained installer. The spring holds hundreds of pounds of stored tension and is the single largest source of serious injury in the garage door trade. If you’re going to do part of the install yourself, stop before the springs and call a pro.
A typical single-car door installed in the Boulder City area runs $1,100 to $1,900 all-in, including removal and disposal, and a double-car door runs $1,600 to $2,800 depending on the door model and any structural work the header requires. Insulated models sit at the higher end. The door itself is usually 55 to 65 percent of the total; the rest is labor, removal, and disposal. Call (833) 605-8582 for an exact quote on your door, and you’ll get a written price before any work begins. Estimates are free.
Most manufacturers, including Clopay, Amarr, and Wayne Dalton, void or limit the product warranty on a DIY installation. The door sections and the finish are often the first to lose coverage, and the springs and hardware are typically the parts most affected. Check the specific model’s warranty terms before you order. If the door’s warranty matters to you and it should, the door is worth having professionally installed.
Mis-sized torsion springs force the opener motor to compensate for the door’s weight every cycle. The motor runs longer and hotter, and the brushes and gear set wear faster. In our experience, a standard 3/4-horsepower opener on a door with an undersized spring dies in 18 months to two years. Replacing the opener without correcting the spring repeats the problem. Get the spring sized first; the opener can stay.
Yes. In most cases a repair visit involves re-setting the tracks, re-sizing the spring, and balancing the door, then running a full cycle test. It’s often less expensive than a full re-install. Call (833) 605-8582 and describe what the door is doing; we’ll tell you on the phone whether it needs a repair or a re-install.
A single-car door replacement typically takes three to five hours; a double-car door takes four to seven hours, depending on the header and the removal of the old door. Scheduling is usually within a week for a standard install. Installation is a measured, ordered, scheduled job, not an emergency call. That’s fine. The door you’ll have for fifteen years is worth a week’s wait and a correctly sized spring.
The Bottom Line
Half the work of a garage door installation is genuinely within reach for a skilled homeowner. The other half is where the quarter-inch errors live, and those errors are visible in every cycle for the life of the door. If you’re going to do the install yourself, do the measuring, the removal, and the panel assembly, then hand off the springs, the track alignment, and the opener calibration to a trained installer. You’ll save some labor and gain a door that runs true. If you’re in Boulder City, bring us the quote before you sign it and we’ll give you a free second opinion on any written estimate. Our technicians have up to 10 years of experience, we state the flat price before the work starts, and we back every job with the 90-Day Done Right Promise in writing.
Call Mainspring Garage Door Co. Boulder City at (833) 605-8582 for a free estimate. We answer the phone with a live person, every time. Senior and veteran discounts are permanent, the seasonal tune-up is $89, and we’ll always tell you whether the job needs a professional or just a second pair of hands.
Written by the team at Mainspring Garage Door Co. Boulder City.