
Last updated November 18, 2026
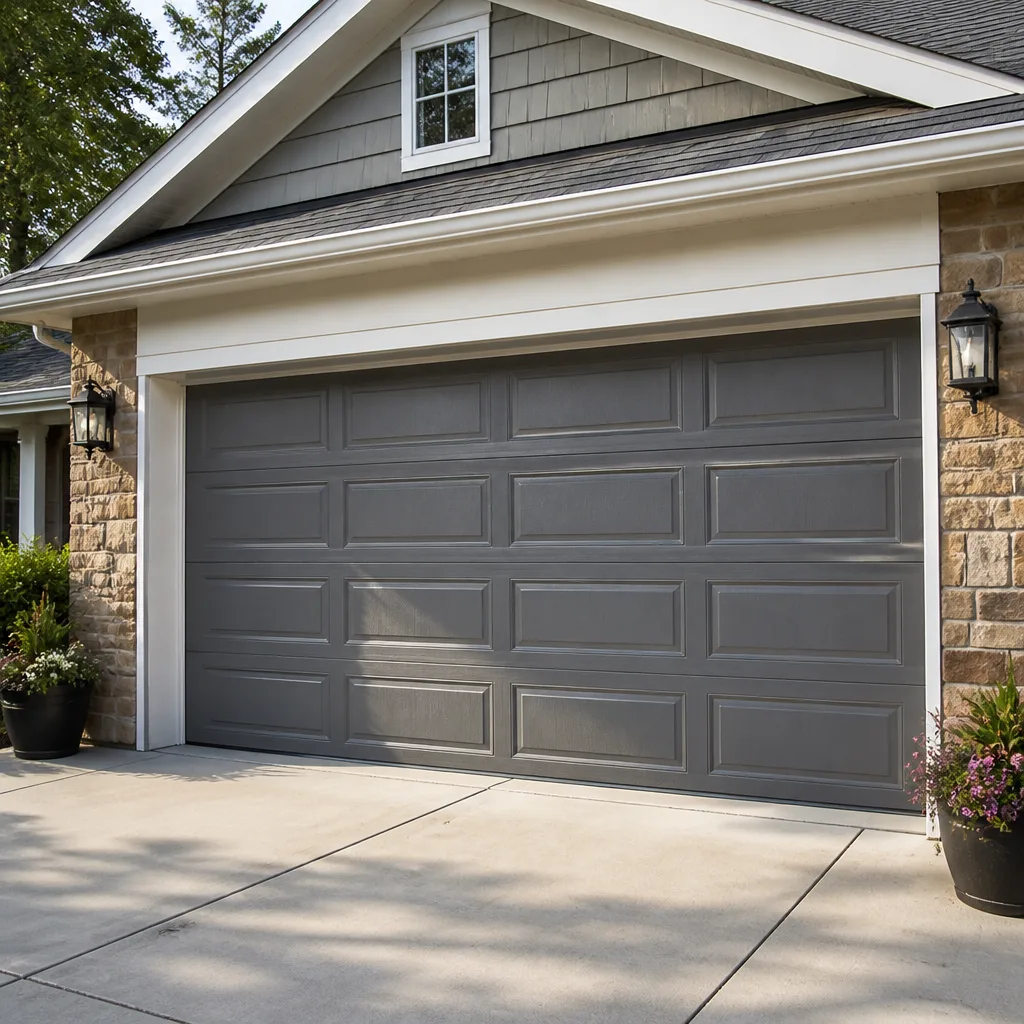 Raised-panel steel
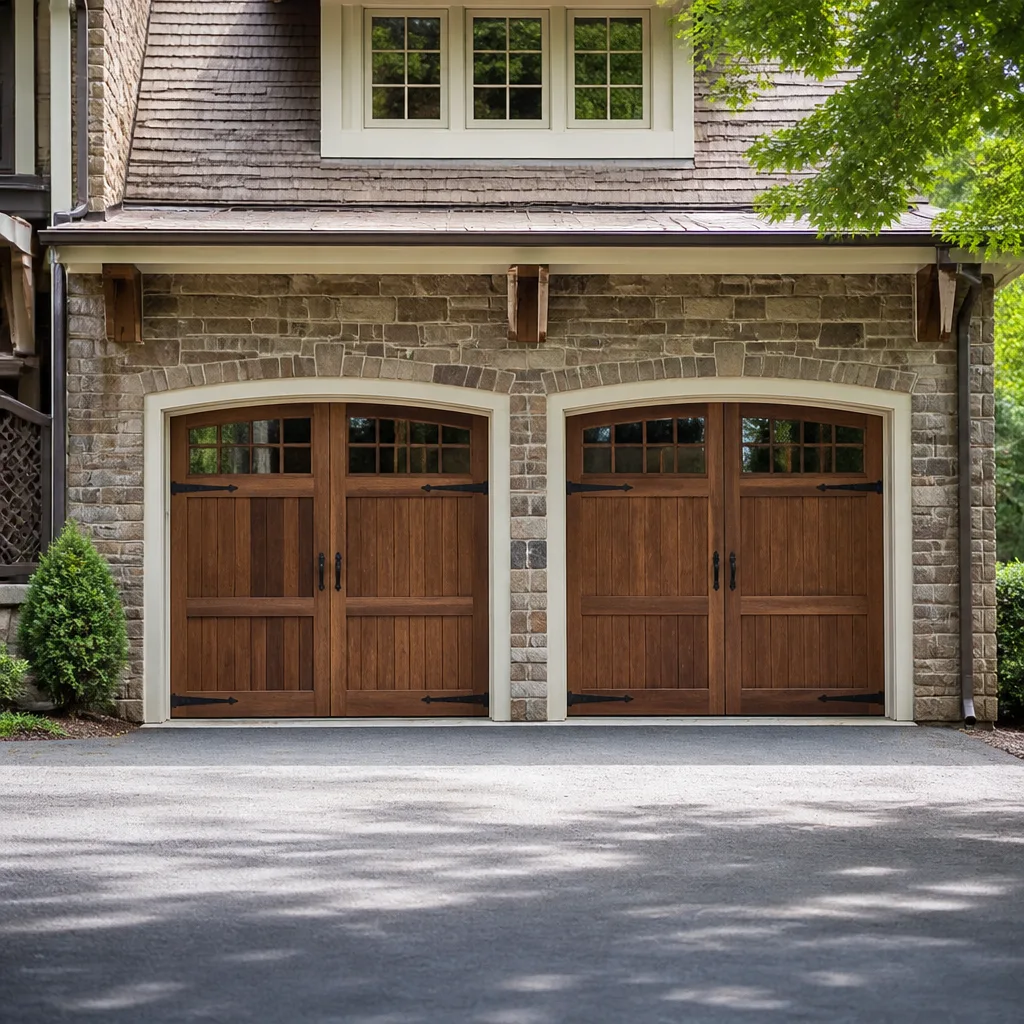 Carriage house
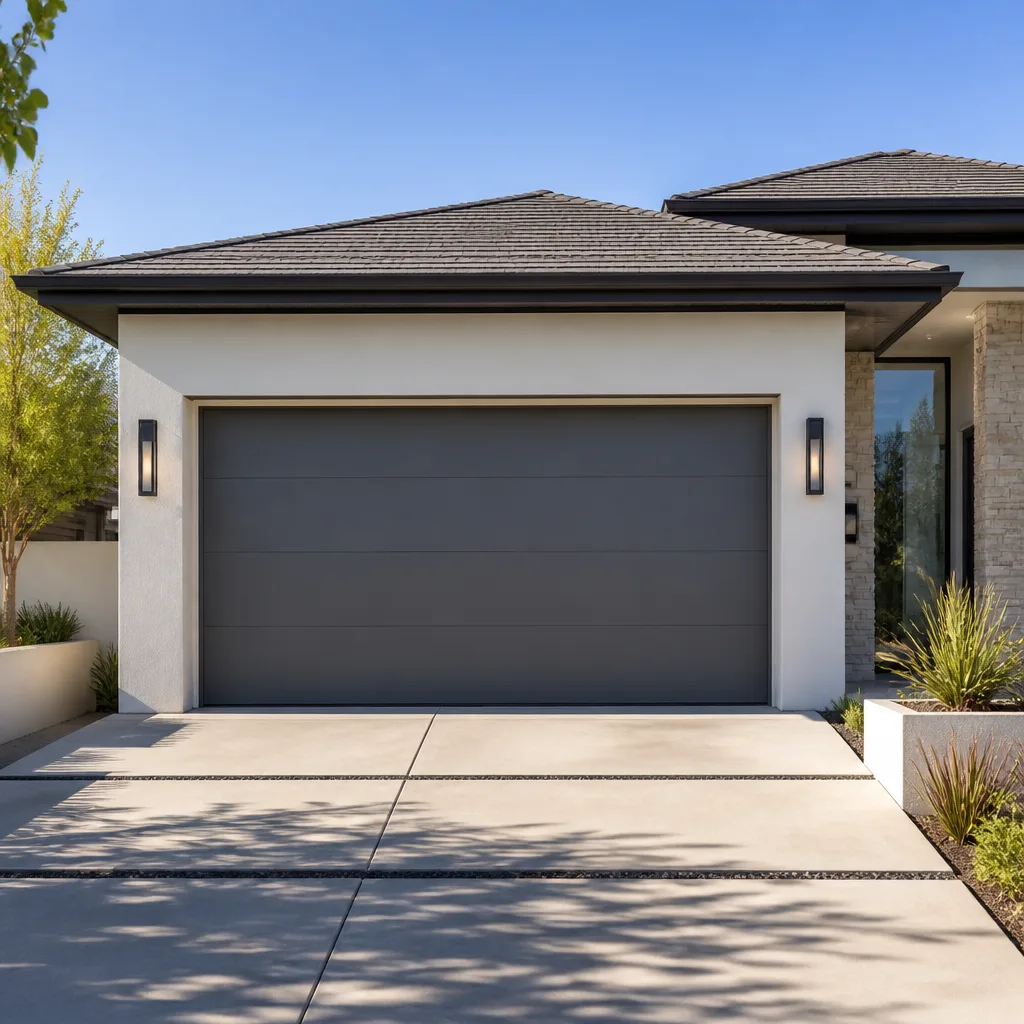 Modern flush
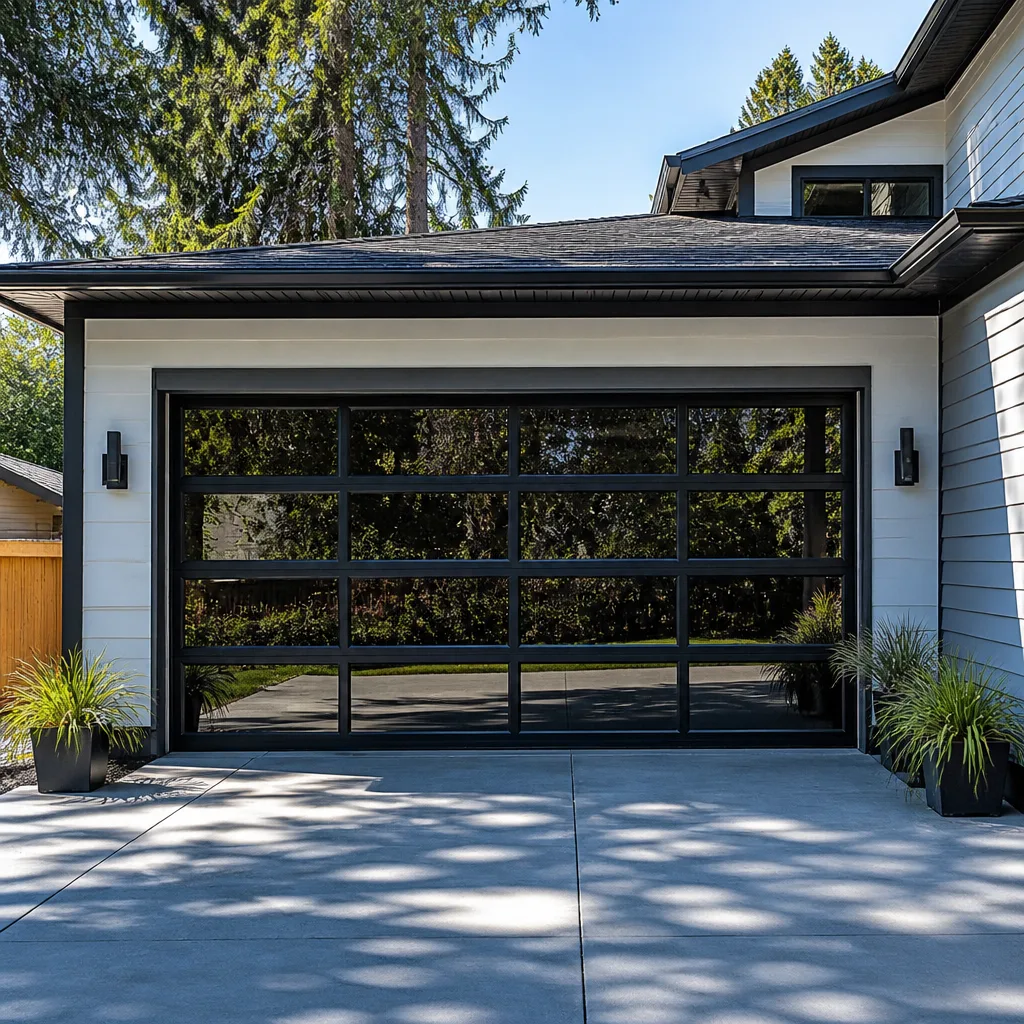 Full-view glass
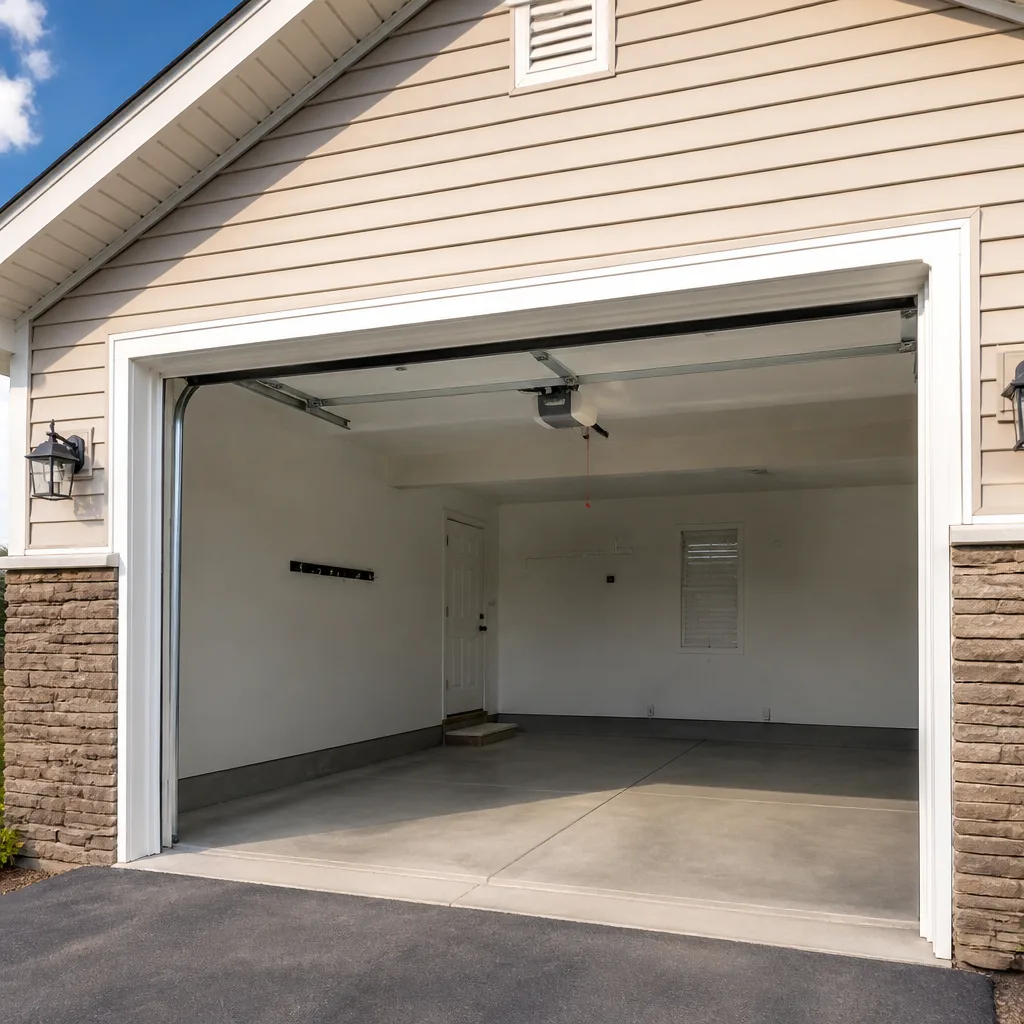 LiftMaster openers
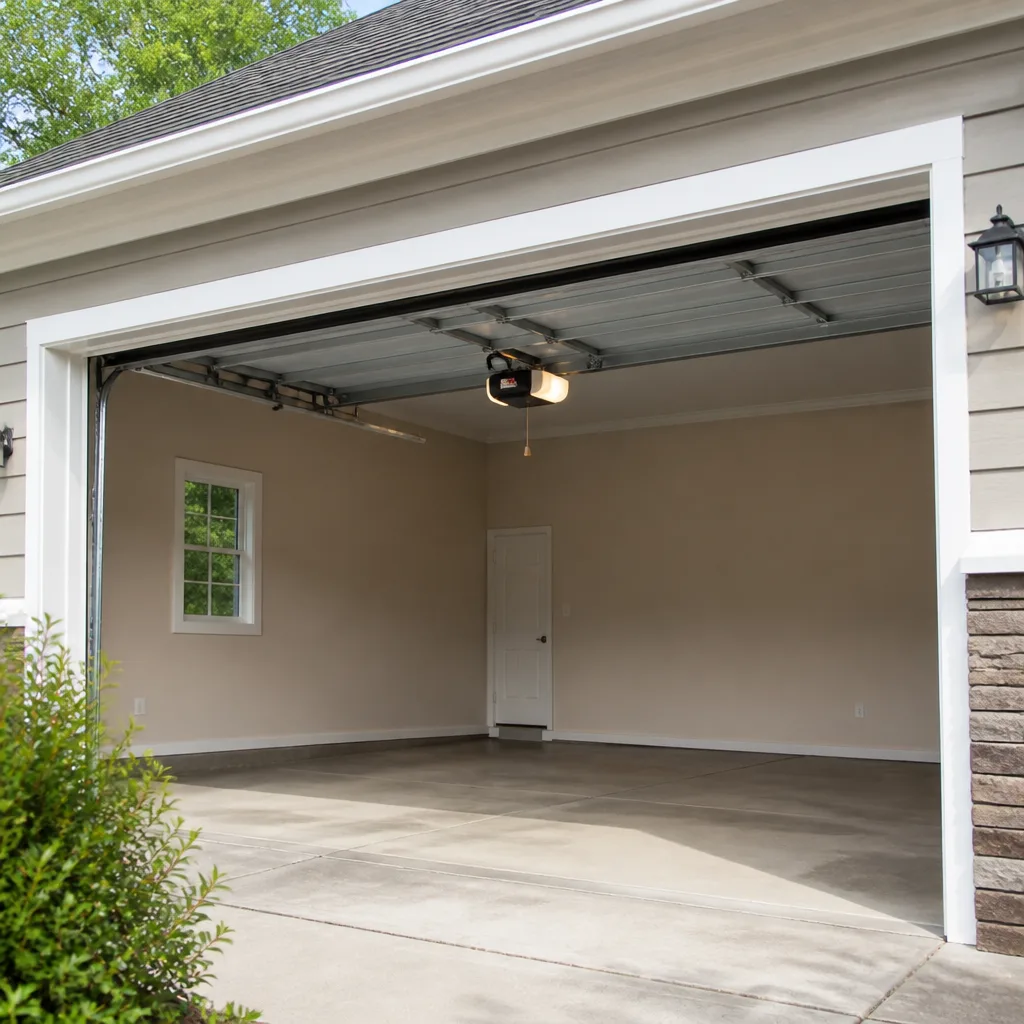 Chamberlain openers
Full 25-point door and opener safety check with every visit - springs, cables, rollers, tracks, and your LiftMaster or Chamberlain opener included
You get a price before we start. It does not change when the pro arrives.
Get your free estimateGarage Door Opener Troubleshooting: Common Problems and How to Fix Them
Here’s the thing most troubleshooting guides get wrong: they start with the opener. Your door doesn’t know it has an opener. It knows it has a spring, a track, rollers, and a photo-eye near the floor. When the opener acts up, the problem is usually one of those four, and the opener is just reporting the bad news. A door that reverses an inch off the concrete isn’t broken. It’s obeying a safety sensor that something is blocking, and in our experience that something is often a spiderweb strung across the lens. This guide sorts problems by what your door actually does, walks through the logic behind each one, and tells you plainly which fixes are yours to make and which belong to a trained technician. We work on openers across Boulder City every week, and the patterns hold.
Quick Answer
Most garage door opener problems trace back to one of five causes: misaligned or dirty safety sensors (the door reverses or won’t close), dead or corroded remote batteries (no response from the car), a tripped circuit or failed logic board (the motor won’t run at all), a stripped drive gear or broken spring (the motor hums but nothing moves), or a worn capacitor (the opener struggles and stalls). Start by checking the safety sensors and the wall control, since those two fixes resolve the majority of complaints without a tool. If the motor runs but the door doesn’t move, stop and call a professional.
Styles & brands we work with
- Raised-panel steel
- Carriage house
- Modern flush
- Full-view glass
- LiftMaster openers
- Chamberlain openers
Table of Contents
- The Door Reverses Before It Closes
- The Door Won’t Close at All
- The Remote Works at Ten Feet but Not Thirty
- The Motor Is Silent: No Sound, No Movement
- The Motor Hums but the Door Won’t Move
- Logic Board, Capacitor, or Drive Gear: Three Failures That Look the Same
- Common Mistakes to Avoid
- When to Call a Professional
The Door Reverses Before It Closes
This is the most common opener complaint we hear, and the least mysterious once you understand the design. The two photo-eye sensors mounted near the floor on either side of the door shoot an invisible beam across the opening. If anything breaks that beam, the door reverses on purpose. It’s doing its job. The trick is finding what’s breaking the beam.
Work through these steps in order. You won’t need a screwdriver for the first two.
- Look at both sensor lenses. Each one has a small indicator light. Solid on both sides usually means the sensors are aligned and talking. A blinking or dark light on either side means the beam is interrupted or misaligned.
- Wipe the lenses with a dry cloth. Dust, cobwebs, and the fine grit that blows around Boulder City collect on those lenses and scatter the beam. This alone fixes a surprising number of “random reversal” calls.
- Look for obstructions low to the ground. A garden hose, a rake leaning against the wall, a recycling bin nudged into the beam path. In homes where the door faces the street, a windblown newspaper will do it.
- Check alignment. The two sensors should face each other squarely. If one has been bumped, the beam misses. Most brackets have a wing nut you can loosen, aim, and retighten while watching the indicator light.
- Check the wiring at the sensor. The thin low-voltage wire stapled along the wall can be nicked, chewed, or pulled loose. Look for a wire hanging free or a staple driven through the insulation.
If the door reverses in the same spot every time and the sensors are clean and lit, the problem is likely the travel limits or the force setting on the opener itself, which is a control adjustment rather than a sensor repair. On older units, sun glare across a west-facing door can also trip the sensor beam during late afternoon. If you’ve worked through all five steps and the door still reverses, that’s a good point to pick up the phone. A technician can read the opener’s diagnostic codes and check the limit settings in a few minutes.
The Door Won’t Close at All
The door opens fine, then stops and reverses the moment it travels down. Same sensor system as above, but usually a harder fault: a sensor that’s dead, miswired, or pointed at the sun. The difference matters, because a sensor that fails the alignment check over and over isn’t going to fix itself with a wipe.
Start with the wall control. If your opener has a “lock” or “vacation” mode, a stray press can lock the remotes out, and the door will behave as if the sensors are faulty. Press and hold the lock button for a few seconds to clear it, then test.
Next, press and hold the wall button. If the door closes and stays closed while you’re holding the button but reverses the moment you let go, the safety sensors are almost certainly the culprit. The opener overrides the sensors when you hold the wall button, which is a diagnostic tell: it means the motor and drive are fine and the problem lives in the beam.
Common culprits at this stage:
- A sensor with a burnt-out LED that no longer sends a beam. The other side just sits there waiting.
- A reversed polarity wiring issue on a sensor that was recently replaced or reconnected.
- Sunlight direct into one sensor during a specific hour of the day. Porch lights and headlights can do it too.
- A loose wire at the opener head where the sensor pair ties into the terminals.
If the sensors are lit, clean, and aligned, and the door still refuses to close, the wall control or the logic board is the next suspect. Don’t keep cycling the door hoping it settles. A door that closes partway because a sensor intermittently triggers can slam, and that’s not a risk worth taking.
The Remote Works at Ten Feet but Not Thirty
Range loss is one of the most misunderstood problems in garage door openers. It almost always points to a battery, an antenna, or interference, never to a receiver that needs replacing. Here’s how to tell which one you have.
First, test a second remote or the wall control. If the wall button works from inside the house without trouble, the receiver is fine and the problem is remote-side. If the wall control also has short range, the receiver (usually built into the logic board) is degrading, which on older units is more and more common.
Next, replace the battery. A remote battery loses voltage slowly over many months, so the remote either works from ten feet or fails entirely. There’s very little middle ground. A fresh CR2032 or A23 (check the remote model) costs a few dollars and is worth doing before any other diagnosis.
The third cause is the antenna. On most openers, a thin wire hangs down from the motor head. If it’s been stuffed up into the housing, wrapped around a joist, or trimmed short, range suffers. Straightening that wire and letting it hang cleanly restores more range than most homeowners expect.
Interference from LED bulbs is a real issue on Boulder City doors that face west. Some LED retrofit bulbs sold for garage use emit radio noise that swamps the opener’s receiver. If range loss started after a bulb change, try an old-style bulb or a bulb rated for opener use.
Keypad range is a separate issue. An outdoor keypad has no antenna worth speaking of, so if the keypad works but feels sluggish, it’s almost always the keypad battery, not the opener. If a remote works at the street but the keypad doesn’t, the answer is a fresh keypad battery, not a new opener.
The Motor Is Silent: No Sound, No Movement
A completely silent opener is usually a power problem, and there’s an easy way to split it in half. Look for the light on the opener head. If there’s no light at all and no click when you press the wall button, the unit is dead at the electrical level. If the light comes on but the motor doesn’t engage, power is fine and the problem is internal.
Start with the basics:
- Check the circuit. The opener is likely on the same circuit as the garage lights. Test the lights. If they’re out, check the breaker panel.
- Check the outlet. Openers plug into a standard outlet in the ceiling. The plug can come loose from vibration. Unplug and reseat it firmly.
- Check the wall control lock. A locked wall control blanks the remotes and the wall button on many units. Look for a small lock LED.
- Look for a tripped manual release. If the door is in manual mode after a power blip, the opener won’t engage until the carriage reconnects.
- Check the safety sensor indicator again. On some units, a failed sensor blanks the opener entirely.
If power is reaching the unit and the lock isn’t engaged, the next suspects are the wall control wire, the wall control itself, and the logic board. That’s where most homeowners stop and most technicians start. A Craftsman or Chamberlain unit from twenty years ago can usually be diagnosed in fifteen minutes, but the diagnosis itself requires opening the housing.
The Motor Hums but the Door Won’t Move
This is the symptom that feels like a motor problem but rarely is. A hum with no movement means the motor is turning (or trying to) and something between the motor and the door is not. That could be a stripped drive gear, a snapped spring, a broken belt or chain, or a carriage disconnected from the trolley.
Split the diagnosis with the manual release. Pull the release cord (usually a red handle hanging from the trolley) to disconnect the door from the opener, then open and close the door by hand.
- If the door moves easily by hand and stays where you leave it, the springs and balance are fine and the problem is in the opener: gear, belt, chain, or carriage.
- If the door is heavy, hard to lift, or slams down on its own, the spring system has failed and the opener is trying to lift a door it was never meant to lift. Snapped springs are the most common cause. Stop here. Don’t reconnect the door to a motor that’s already been strained.
A stripped drive gear on a chain-drive opener is a classic, and it sounds the same as a failed capacitor from the outside: a hum, a paused motor, nothing moving. The difference is visible only with the cover off. On belt-drive units, a broken belt produces the same symptom but no hum at all. Our take on these from years of Boulder City service calls: the difference between a $180 repair and a $500 repair is almost always which of these three failures you have, and it isn’t something a homeowner can tell from the ground.
On some older LiftMaster and Genie units, the capacitor is the weak link. A motor with a failed capacitor hums but can’t start, so the door doesn’t move. On those, a replacement capacitor is one of the least expensive fixes in the whole opener. On a unit that’s been straining against a broken spring for weeks, the drive gear is ground down and the motor may already be on its way out. The two look identical from the floor.
Logic Board, Capacitor, or Drive Gear: Three Failures That Look the Same
This is where most DIY troubleshooting ends and where good diagnostics start. All three failures produce the same complaint: the door stopped working and the opener is not behaving normally. From the outside, you can’t tell them apart. The fix, cost, and downtime are very different.
Here’s what each one actually is:
- Logic board failure: The opener’s brain. It powers on but doesn’t respond to remotes, wall controls, or sensors properly. Sometimes the light comes on but the motor is dead; sometimes the opener cycles randomly. Replacement is a control-unit part, usually the priciest of the three.
- Capacitor failure: The little cylinder that gives the motor its starting jolt. The motor hums and stalls, or the door moves in small jerks. Replacement is cheap and fast, and on a healthy motor it’s a true fix.
- Stripped drive gear: The plastic or nylon gear inside the opener that connects the motor to the chain or belt. If it’s chewed through, the motor spins freely and the door never moves. Replacement is a moderate job and often the difference between repairing an older opener and replacing it.
On a door with a broken spring, all three symptoms can present at once because the opener has been working under load it was never designed for. In our experience, a certain number of opener repairs on older Boulder City homes turn out to be the door telling us its spring failed weeks ago and the opener finally gave out as a result.
You can’t reliably tell these apart from the ground, and the diagnostics require opening the opener housing. That’s not a job for a homeowner, not because it’s difficult but because the unit is under tension and the wrong move can damage the board or, worse, dump the door. This is the point where calling is the cheaper choice. Mainspring Garage Door Co. carries the parts for all major brands on the truck, so the diagnosis and the repair usually happen in the same visit.
Common Mistakes to Avoid
- Adjusting the force setting to make the door close. When the door won’t close, the temptation is to crank up the closing force. That masks the symptom and damages the door. Fix the sensors instead.
- Pulling the manual release on a door with a broken spring. If the spring is gone, the door is no longer held in balance and the release lets gravity take over. That’s a serious injury waiting to happen. Check the springs before you touch the release.
- Buying a new opener before a diagnosis. A logic board failure, a capacitor failure, and a broken drive gear all look identical from the ground. Buying a new opener to fix what’s actually a $180 gear replacement is a waste. In Boulder City we’ve seen plenty of perfectly good openers replaced this way.
- Ignoring sensor wiring after a sensor replacement. A new $30 sensor wired to old, nicked low-voltage cable will fail the same way the old one did. Check the wire along the wall, not just the sensor.
- Replacing a remote when the problem is the antenna. Range loss is usually the remote battery, the opener antenna wire, or LED bulb interference, in that order. A new remote often doesn’t fix range that a straight antenna would.
- Self-diagnosing a spring problem as an opener problem. If the door is heavy to lift by hand, the fix is the spring. The opener is the victim, not the cause.
- Using the wrong bulb in the opener. Garage use bulbs that look right can interfere with remote frequency. An opener-rated bulb or a plain incandescent costs less than a service call.
When to Call a Professional
The symptoms in this guide cover the vast majority of opener complaints, and most of them are solved by checking sensors, batteries, and wiring. Three situations are different. Anything involving a torsion spring, a broken spring, or a door that’s heavy to lift belongs to a trained technician – that’s the single most dangerous part of any garage door, and no homeowner should be adjusting tension. Anything involving the drive gear or logic board with the door still connected is also a professional call. And any time the symptom changes after you’ve made a repair, call before you keep testing, because a door that behaves unpredictably after a fix can fail suddenly.
Mainspring Garage Door Co. offers free estimates in Boulder City – call (833) 605-8582. Calls are answered by a live person around the clock, including nights and weekends. The flat price is stated before any work begins, and every job is backed by the 90-Day Done Right Promise. If the work isn’t right, we come back, in writing, with no argument.
Frequently Asked Questions
The safety sensors are triggering. Something broke the beam across the door opening: a cobweb, dust on the lens, a misaligned sensor, or an object near the floor. Wipe both sensor lenses, check their indicator lights, and look for obstructions. If that doesn’t fix it, call a technician to test the sensors and limit settings.
The remote battery is the most likely cause. Range loss is almost always a dying battery, a shortened or bundled antenna wire at the opener, or interference from a nearby LED bulb. Test a second remote or the wall control first. If the wall control works fine, the receiver is fine and the problem is remote-side. Call (833) 605-8582 for a diagnosis if the range loss continues after a fresh battery.
Three possible causes: a stripped drive gear, a failed capacitor, or a broken spring. Pull the manual release and try to lift the door by hand. If it lifts easily, the spring is fine and the problem is inside the opener. If the door is heavy, the spring has failed and the opener is the victim. Don’t reconnect the door until a technician checks it.
Most opener repairs fall in the range of a single service visit, with capacitors and sensor repairs at the low end and drive gear or logic board replacements climbing higher. The exact price depends on the failure and the opener brand. We quote the flat price before any work starts, so you’ll know the number before we open the housing. Call (833) 605-8582 for a free estimate.
Sensor alignment, remote batteries, keypad batteries, and antenna position are homeowner-safe fixes. Anything involving spring tension, drive gear replacement, or logic board work should not be attempted by a homeowner, even an experienced one, because the door is under load and the failure mode is serious injury. When in doubt, call.
The receiver in the opener is fine and the problem is in the remote or its battery. Replace the battery first. If the remote is new and the wall control works from the same distance, the remote may need to be re-learned to the opener or replaced. That’s a two-minute job with a technician and a common fix on older Craftsman and LiftMaster units.
See the difference
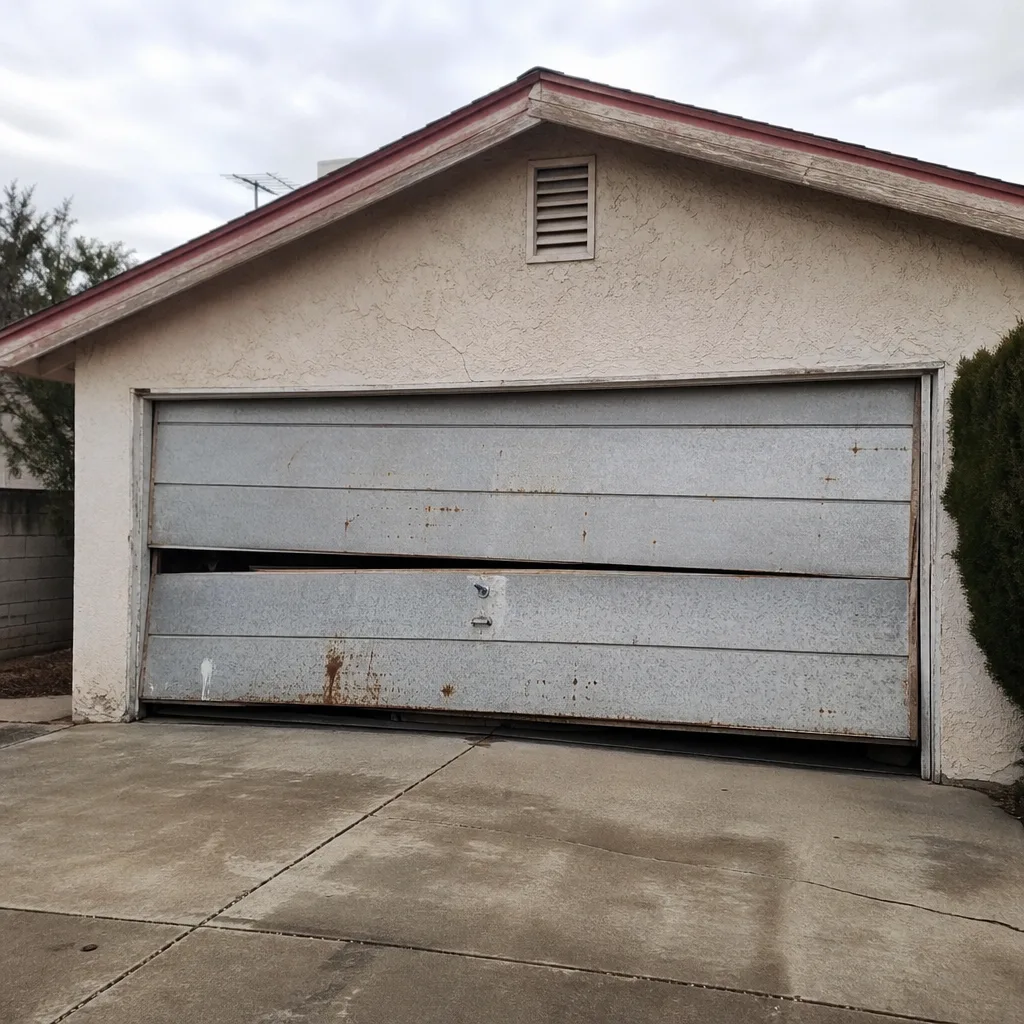 Before
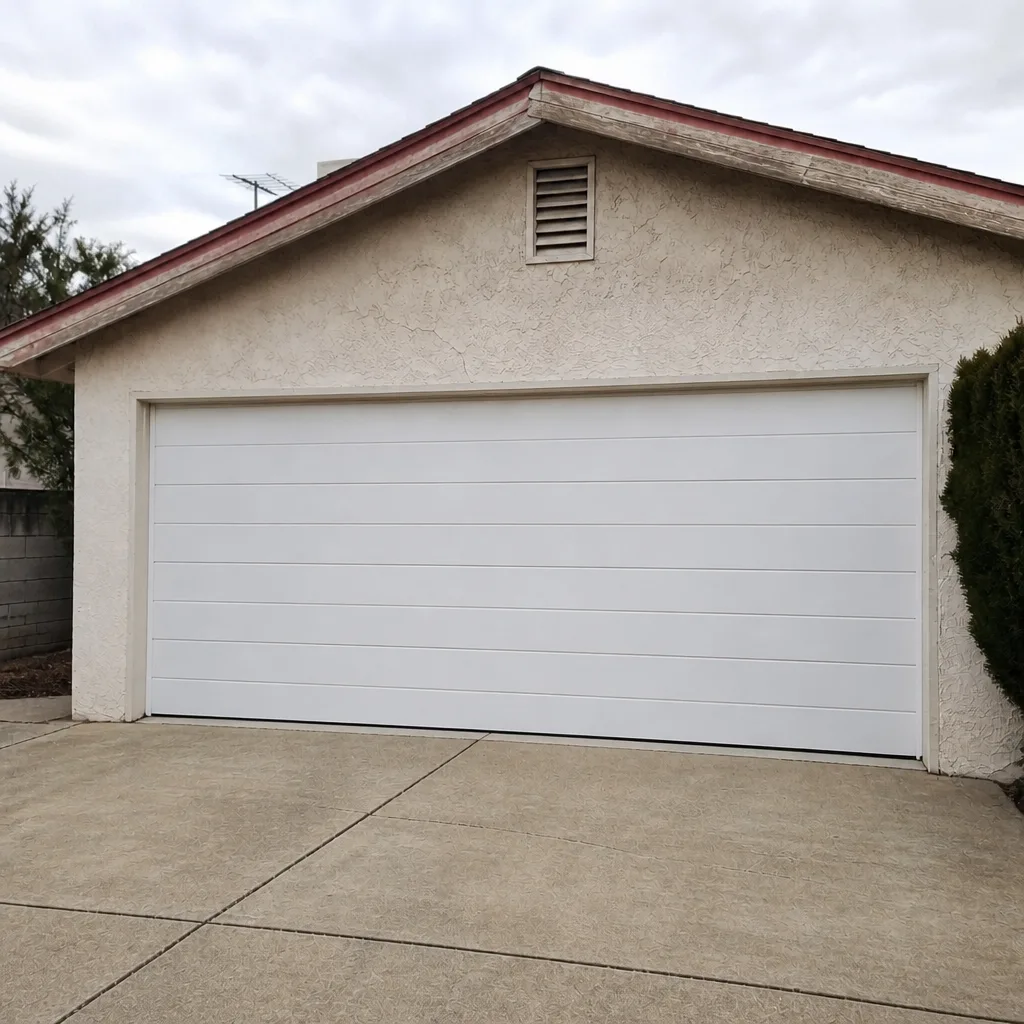 After
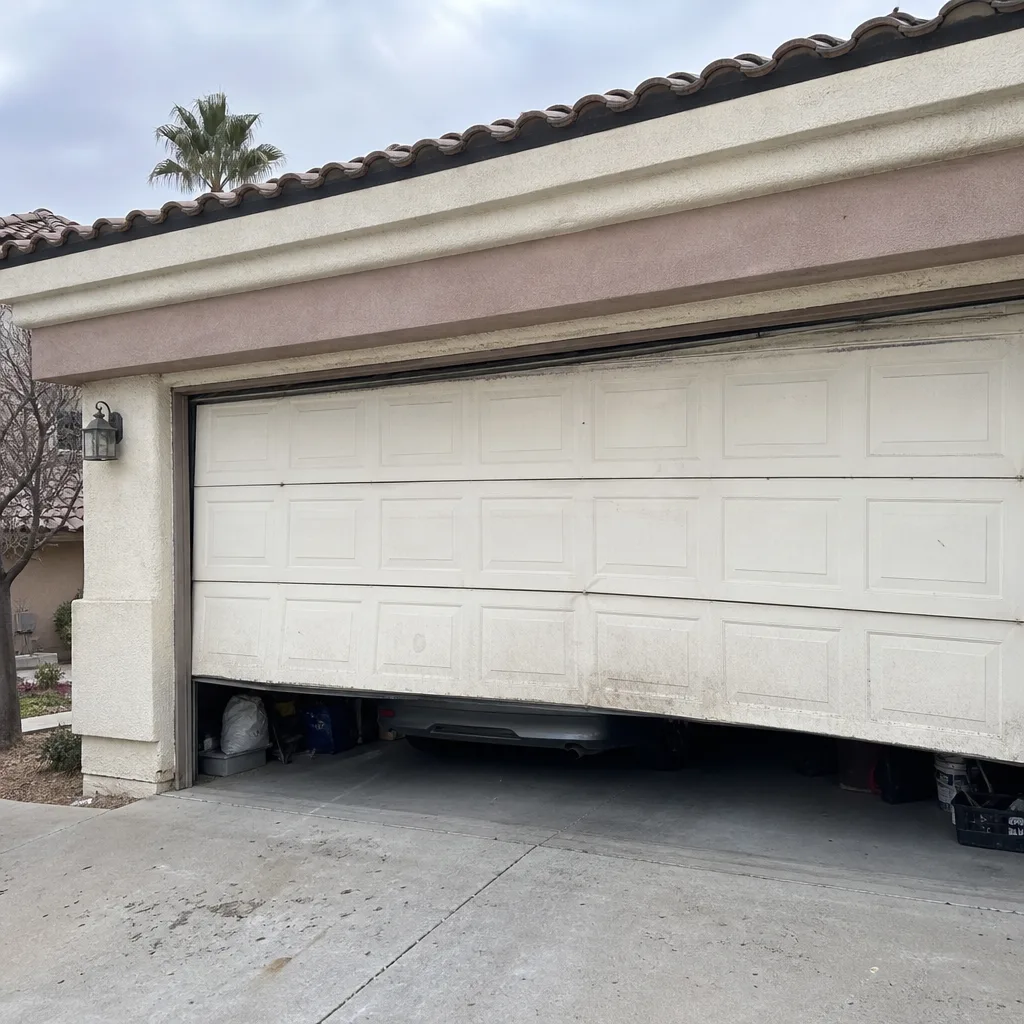 Before
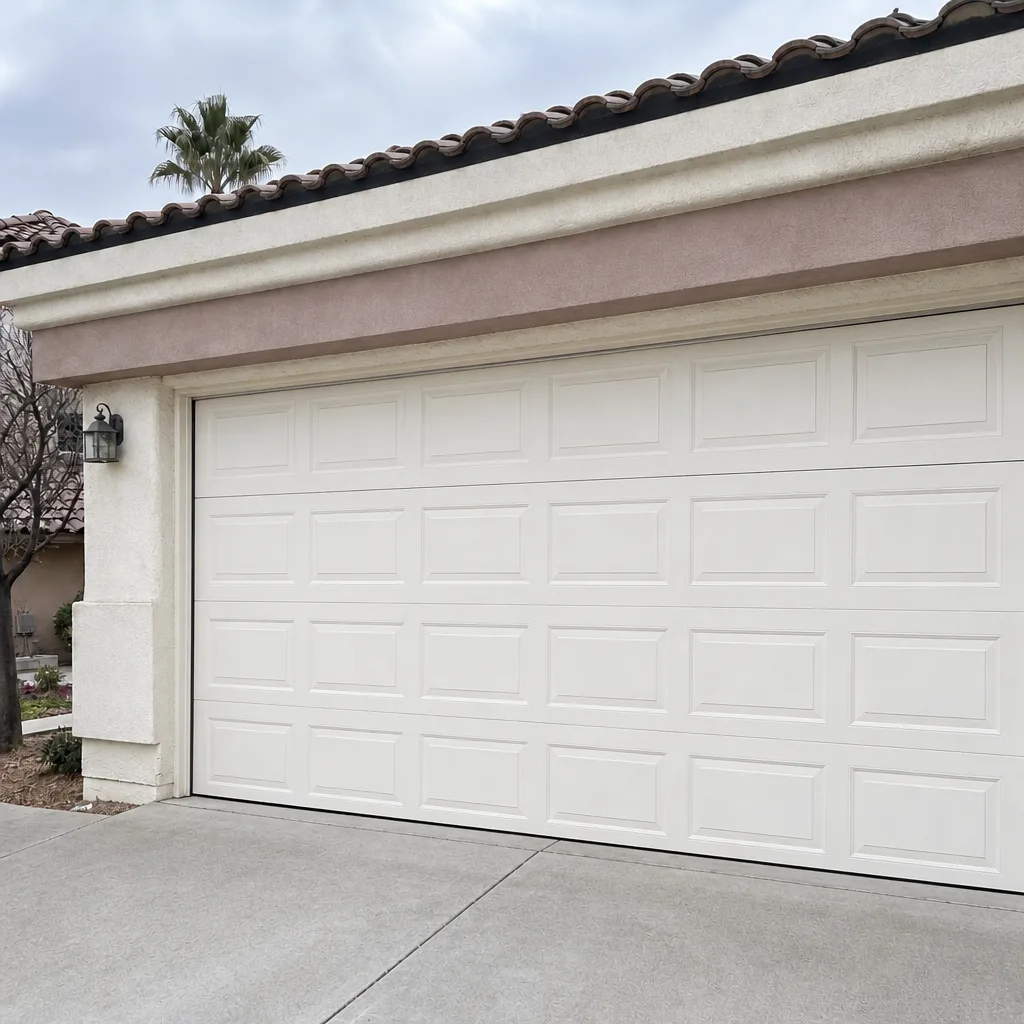 After
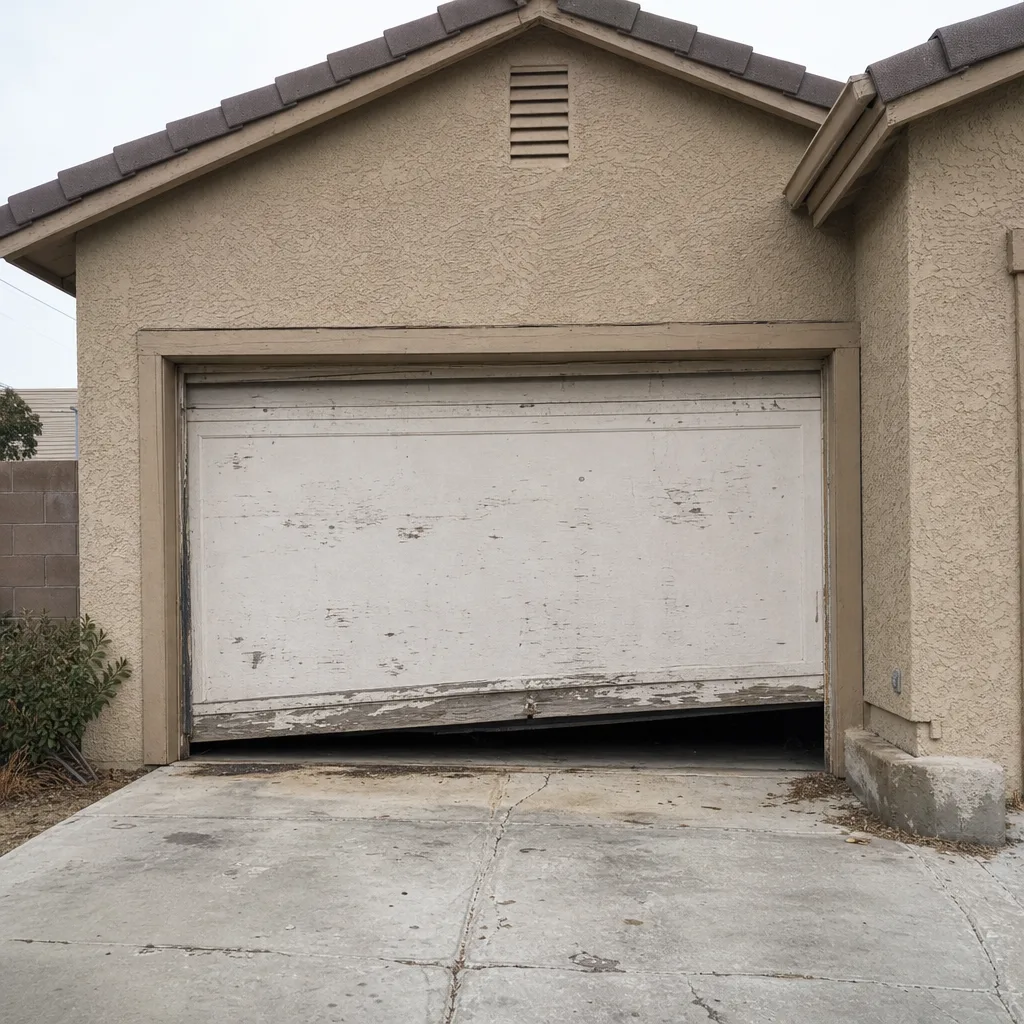 Before
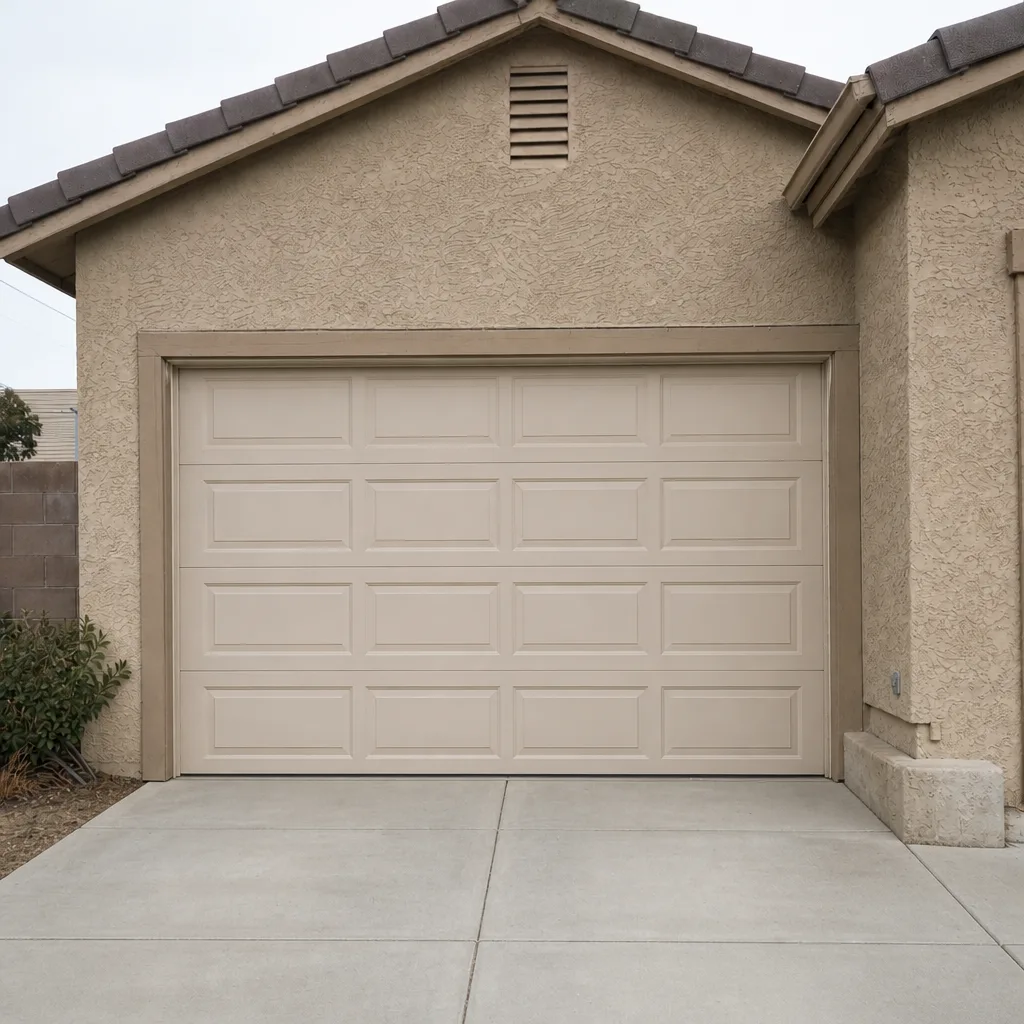 After
The Bottom Line
Most opener problems fall into a handful of patterns, and the ones you can fix yourself are the safety sensors, the remote batteries, the keypad battery, and the antenna. The ones you can’t, and shouldn’t try to, are the spring system, the drive gear, the capacitor, and the logic board. The trick is knowing which is which before you start. If the door reverses, check the sensors. If the remote acts up, change the battery. If the door is heavy or the motor hums without moving, stop and call. The cost of a wrong guess here is either a wasted part or a real injury.
Related Reading
For the full picture of what we do, start with our Mainspring Garage Door Co. Boulder City home. If you need a repair visit, see Garage Door Repair in Boulder City. When it’s time to replace a door, learn about Garage Door Installation in Boulder City. And for opener service, replacement, or a new unit, our Garage Door Opener in Boulder City page covers the details.
Contact
If your opener is doing something this guide doesn’t explain, or you’ve hit one of the problems that belongs to a technician, call us at (833) 605-8582 for a free estimate. The phone is answered by a live person day or night. We’ll give you a straight diagnosis and a flat price before any work begins, and we’ll stand behind the work in writing for 90 days.
Written by the team at Mainspring Garage Door Co. Boulder City.