
Last updated November 18, 2026
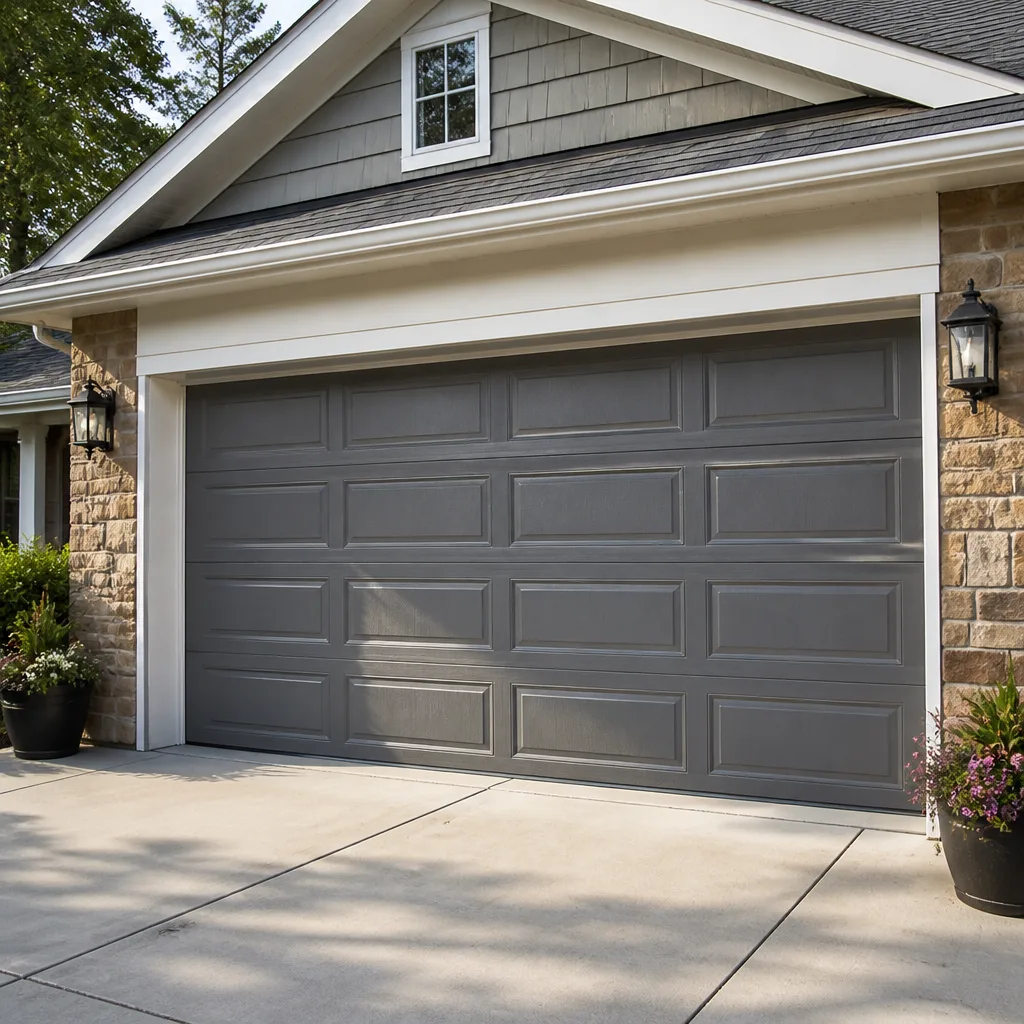 Raised-panel steel
 Carriage house
 Modern flush
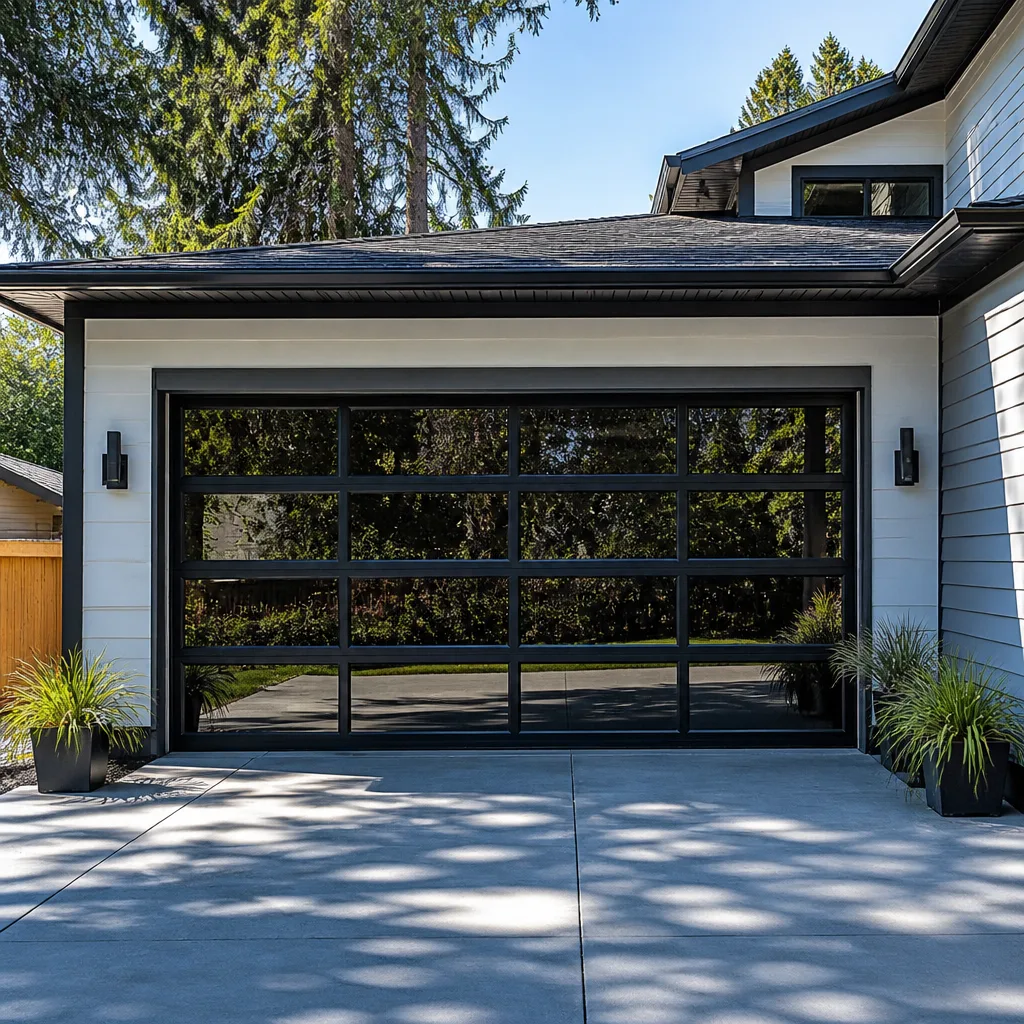 Full-view glass
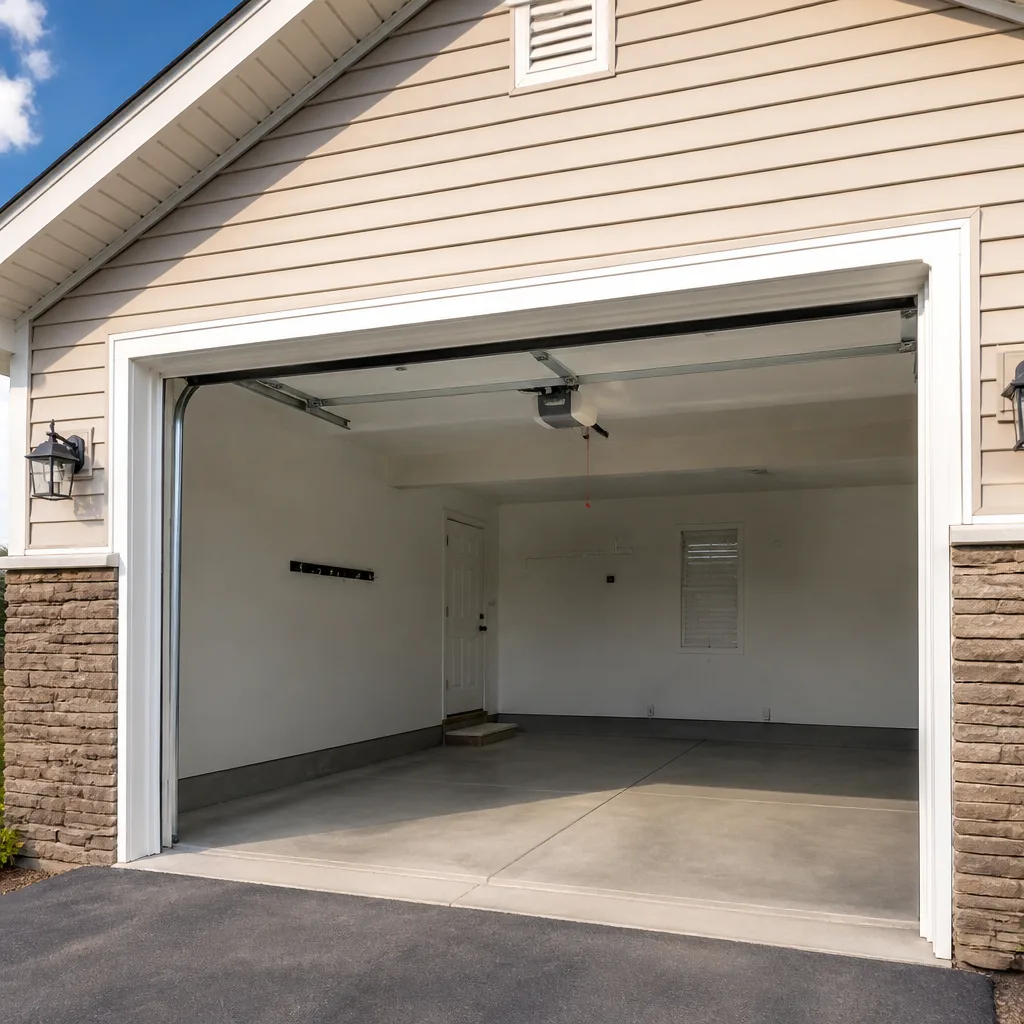 LiftMaster openers
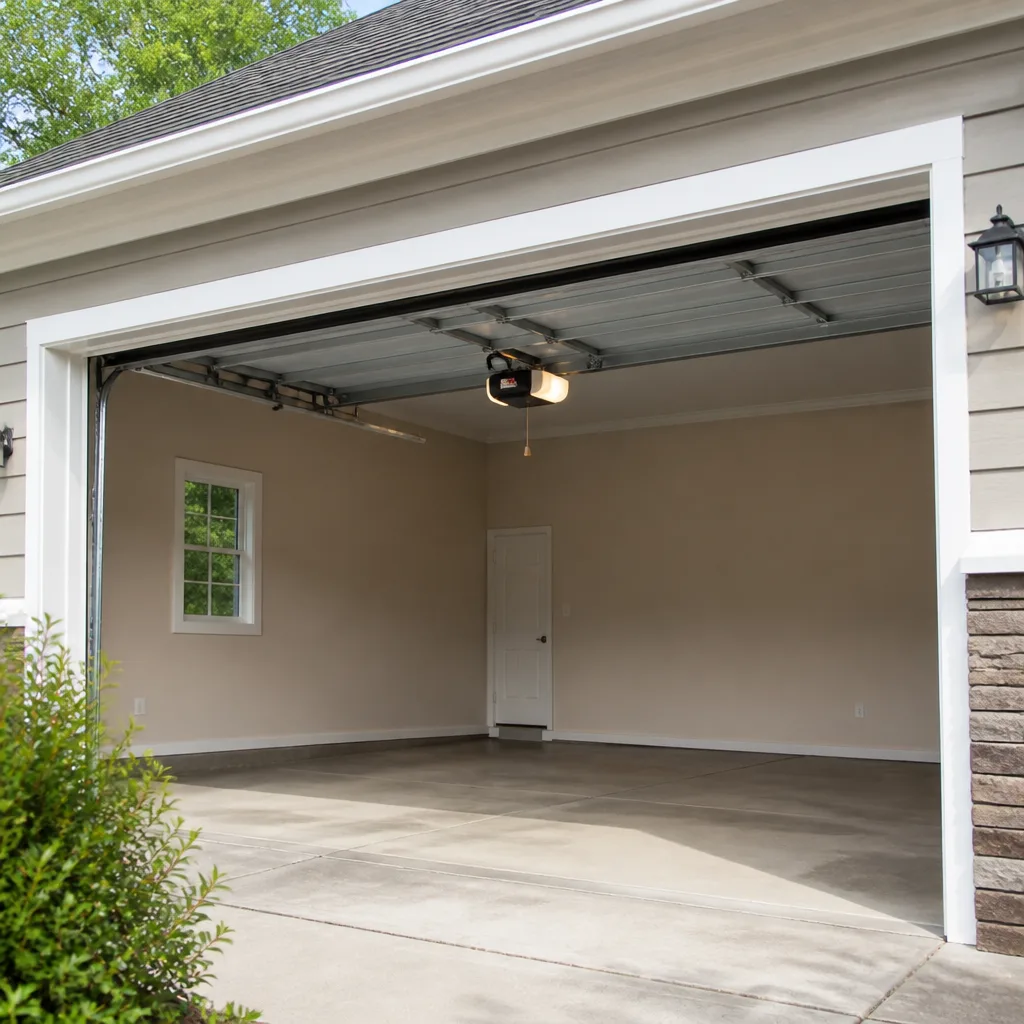 Chamberlain openers
Full 25-point door and opener safety check with every visit - springs, cables, rollers, tracks, and your LiftMaster or Chamberlain opener included
You get a price before we start. It does not change when the pro arrives.
Get your free estimateGarage Door Installation Troubleshooting: Common Problems and How to Fix Them
A new garage door that reverses before closing all the way on day one is not broken. But if the installer tells you “it just needs to break in,” that is not a diagnosis, that is a deferral. In our experience, nearly every problem that surfaces in the first 30 days after a garage door installation traces back to how the door was hung, tensioned, or wired, not to a bad part from the factory. That distinction matters more than most homeowners realize, because it decides whether you file a product warranty claim or call the installer back to correct their own work. This guide walks through the five defects we see most often in Boulder City, how to tell a factory flaw from an installation error, and exactly what to document before your callback window closes.
Quick Answer
Most post-installation garage door problems are installation errors, not manufacturing defects, and they show up within the first 30 days. The fix is usually a track adjustment, a sensor alignment, a spring tension correction, or an opener travel-limit reset, all of which fall under the installer’s workmanship warranty rather than the manufacturer’s product warranty. Document each problem with photos, dates, and a written description, and call the installer before the callback window closes.
Styles & brands we work with
- Raised-panel steel
- Carriage house
- Modern flush
- Full-view glass
- LiftMaster openers
- Chamberlain openers
Table of Contents
- The Five Most Common Post-Installation Defects
- Factory Defect or Installation Error? How to Tell
- Why Alignment Problems Show Up at the Bottom Corners
- Opener Compatibility Issues That Surface After Installation
- The 30-Day Post-Installation Walkthrough
- Boulder City Factors That Stress a New Door
- When to Call a Professional
- Frequently Asked Questions
The Five Most Common Post-Installation Defects
Across thousands of installs and callbacks, the same handful of problems keeps showing up. Each one traces back to a specific step in the installation process, which is why the fix is usually a correction rather than a replacement.
- Door reverses before closing. The safety sensors are misaligned, blocked, or wired to the wrong terminal. The installation step at fault is the sensor mounting and alignment. The two lenses should face each other squarely at the same height, roughly 6 inches off the floor, with no sunlight hitting the receiving eye directly.
- Door drifts or creeps down after opening. The spring tension is set too light, or the opener’s travel limit is off. This is a torsion or extension spring calibration error, not a spring defect. It is also the single most dangerous item on this list to adjust yourself.
- Grinding or scraping along one side. The vertical tracks were set out of plumb or pinched too tight against the rollers. You’ll hear it before you see it, and the bottom corner of the door will usually show a scuff mark within a week.
- Door binds halfway up. The horizontal tracks were mounted with too little slope, or the jamb brackets were shimmed unevenly. A door that hangs up at the same height every time is telling you exactly where the track is fighting it.
- Opener runs but the door doesn’t move. The emergency release was left engaged, the trolley wasn’t connected, or the opener’s force settings weren’t tuned to the new door’s weight. This is a commissioning error at the final step of the install.
Notice that none of these are product failures. Every one is a setup problem, and every one falls under the installer’s workmanship warranty.
Factory Defect or Installation Error? How to Tell
This is the question that determines who pays and who you call. A factory defect is a flaw in the material or manufacture of a component: a cracked panel from the plant, a spring that was wound from faulty wire, a bent section that shipped that way. An installation error is a flaw in how the parts were assembled and adjusted on your house. The product warranty covers the first. The installer’s workmanship warranty covers the second.
Here’s how we sort it out, and how you can too:
- Timing. A defect that shows on day one is often a shipping or manufacturing issue. A problem that appears on day three or day fifteen is almost always an adjustment that has drifted, which means installation.
- Symmetry. If the problem is on one side only, it points to how that side was set. Manufacturing flaws in panels and springs tend to run the full width of the component.
- Adjustability. If the problem improves when a technician turns a bolt or moves a sensor, it was an installation setting. Defects don’t adjust away.
- Documentation. This is the one homeowners skip. Photograph the problem with a dated phone camera, write down the date and time it first appeared, and describe it in plain language in an email to the installer. “Door reverses 4 inches off the floor, happens every time, started Tuesday the 14th” is the kind of record that ends an argument before it starts. A vague phone call does not.
If you’re in Boulder City and the installer won’t return your call, a free second opinion on their written estimate or work order can tell you which bucket the problem belongs in before you spend a dime.
Why Alignment Problems Show Up at the Bottom Corners
Look at the bottom corners of any misaligned new door and you’ll find the story. The bottom bracket is where the cable attaches and where the door’s weight meets the track, so it’s the first place unevenness reveals itself. If one bottom corner drags, rubs, or sits a quarter inch off the weather seal, the tracks were almost certainly set out of plumb on that side.
The tracks are the skeleton of the whole system. Set them level and parallel to each other and the door glides. Set one of them even a few degrees off and the door fights itself for its entire travel. The bottom corner is where that fight becomes visible, because the bottom bracket has no slack to absorb it.
What you’ll see, in order of how obvious it is:
- A scuff or bright wear mark on the inside face of one vertical track near the floor.
- A gap at one bottom corner between the door and the threshold seal, wider on one side than the other.
- The door visibly shifting sideways as it travels up, then settling back as it reaches the top.
- A cable that looks slack or has jumped the drum on one side, which is a stop-what-you’re-doing signal, not a keep-using-it signal.
Track adjustment is a two-person job with a level, and on a new door it’s the installer’s job to correct at no charge. Don’t try to bend a track back into place yourself. A torsion spring under tension can store enough force to cause serious injury, and the track and bracket work sits right next to it. This is one of those cases where the right move is a phone call, not a toolbox.
Opener Compatibility Issues That Surface After Installation
A new door and an existing opener don’t always get along, and the problem often doesn’t show up until the second or third day of use. The door is heavier or lighter than the old one, the opener’s force settings were never retuned, or the safety reverse is now tripping because the new door meets the floor differently than the old one did.
Run through this checklist if your opener and new door aren’t communicating cleanly:
- Force settings. The opener’s open and close force limits were likely calibrated for the old door’s weight. If they weren’t reset at install, the opener will either strain or trip its safety reverse. Check the manual for your model. LiftMaster and Chamberlain both publish the adjustment sequence, and it’s usually a turn of a screw on the back panel.
- Travel limits. The opener needs to know where the floor is and where the ceiling is. If the door reverses on its own near the bottom, or stops an inch short at the top, the limits were never set for the new door’s travel.
- Safety reverse sensitivity. Lay a two-by-four flat on the floor and close the door on it. The door should reverse on contact. If it doesn’t, the sensitivity is too low. If it reverses on a piece of paper, it’s too high.
- Photo-eye alignment. New weather stripping changes the door’s resting position by a fraction of an inch, which can knock the sensors out of line. Re-aim the lenses and confirm the indicator light on each is solid, not blinking.
- Remote and keypad pairing. If the opener is older than the new door, the remotes may not have been re-paired after the install. A fresh pairing session with the manual in hand will tell you in two minutes whether it’s a programming issue or a receiver failure.
If your opener is more than about ten years old and the new door is significantly heavier, the opener may simply be undersized. A Genie or LiftMaster unit rated for the new door’s weight will run quieter and last longer than one that’s straining every time it lifts.
The 30-Day Post-Installation Walkthrough
Most installers have a callback window, and it’s usually 30 days. That window is your chance to get the small stuff corrected at no charge. Run this walkthrough twice, once at day three and once at day thirty, and write down what you find both times.
- Look at the bottom corners. Stand inside the garage with the door closed and check for even contact with the floor seal. Any daylight gap on one side gets noted.
- Listen to a full open and close. A properly hung door has a low, steady hum. Grinding, scraping, popping, or a rhythmic thunk means something’s out of adjustment.
- Check the safety reverse. Lay a two-by-four flat and close the door on it. It should reverse on contact without hesitation.
- Check the photo-eye sensors. Interrupt the beam with your hand while the door is closing. It should reverse. If it doesn’t, stop using the door and call.
- Inspect the cables and springs. Look, don’t touch. A cable that’s slack, frayed, or off its drum, or a spring that’s visibly deformed, is a call-the-professional item.
- Check the hardware. Rollers should turn freely, hinges should be snug, and the bottom bracket bolts should be tight. Loose bolts on a new door are common and harmless if caught early.
- Test the balance. With the door closed, pull the emergency release to disengage the opener, then lift the door halfway by hand. It should stay there with light effort. If it drops or needs a hard shove, the spring tension is off.
Re-engage the opener before you use the door again. Then email your installer with the list, dated, with photos. That email is your record if the problem isn’t fixed by day 30 and you need to invoke the warranty.
Boulder City Factors That Stress a New Door
Boulder City has its own stresses on a new installation, and they show up fast. The desert climate swings hard between summer highs and cool winter mornings, and a door that was perfectly adjusted in a mild week can drift a quarter inch once the heat sets in. Metal expands, wood in the panels dries and shrinks, and weather stripping that sealed tight in spring can gap by midsummer.
Add the local dust and you get a second issue: grit works into the rollers and tracks faster than in most places, which makes a new door sound older than it is. A quick wipe of the tracks and a dry-lube spray on the rollers every few months does more for a new door in Boulder City than any other maintenance you can do. We also see more wind-driven panel and seal wear here than in the valley, so a new door’s alignment should be checked after the first big spring wind event, not just at day 30.
If you’re comparing what a new door should cost or how the install should be scheduled, our Garage Door Installation in Boulder City page walks through the process, and the Mainspring Garage Door Co. Boulder City home page covers what we do across the trade. When a new door starts acting up, the repair side of our work is on the Garage Door Repair in Boulder City page, and opener issues land on the Garage Door Opener in Boulder City page.
See the difference
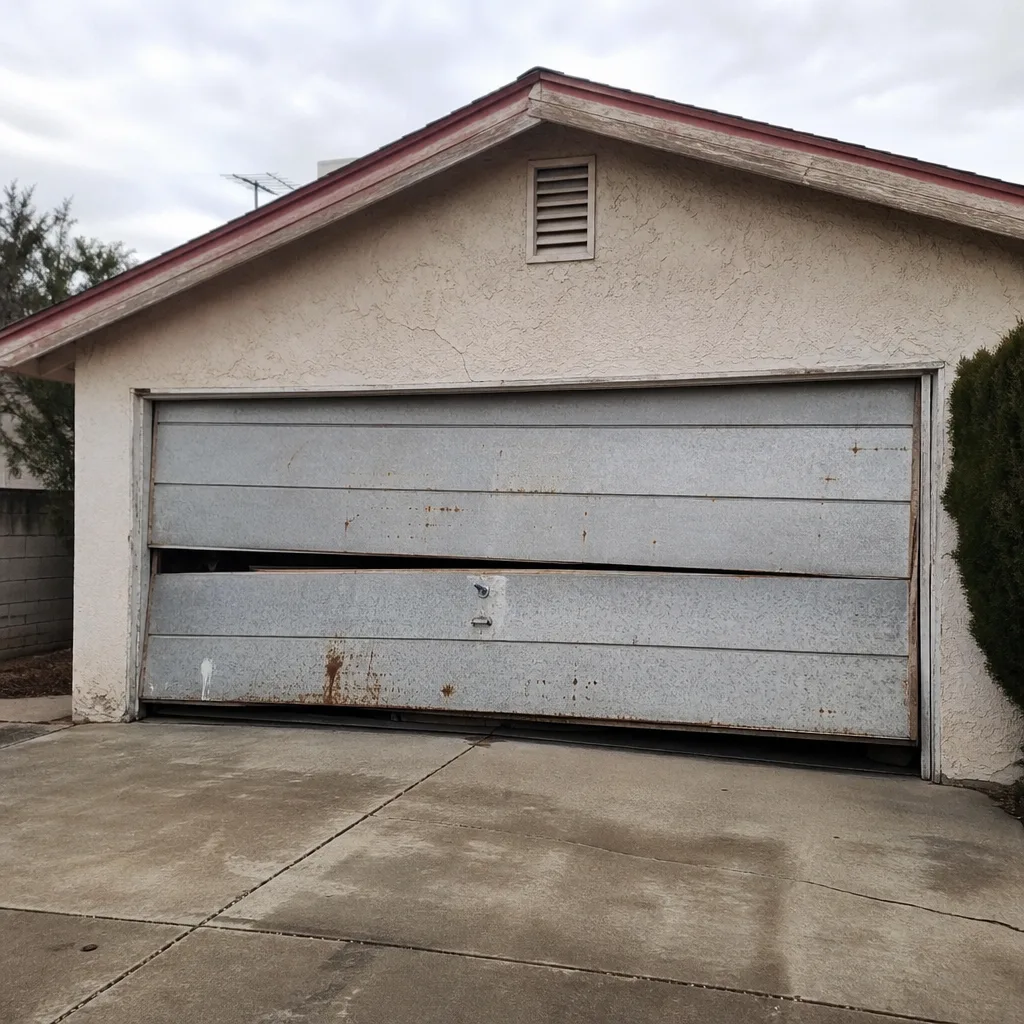 Before
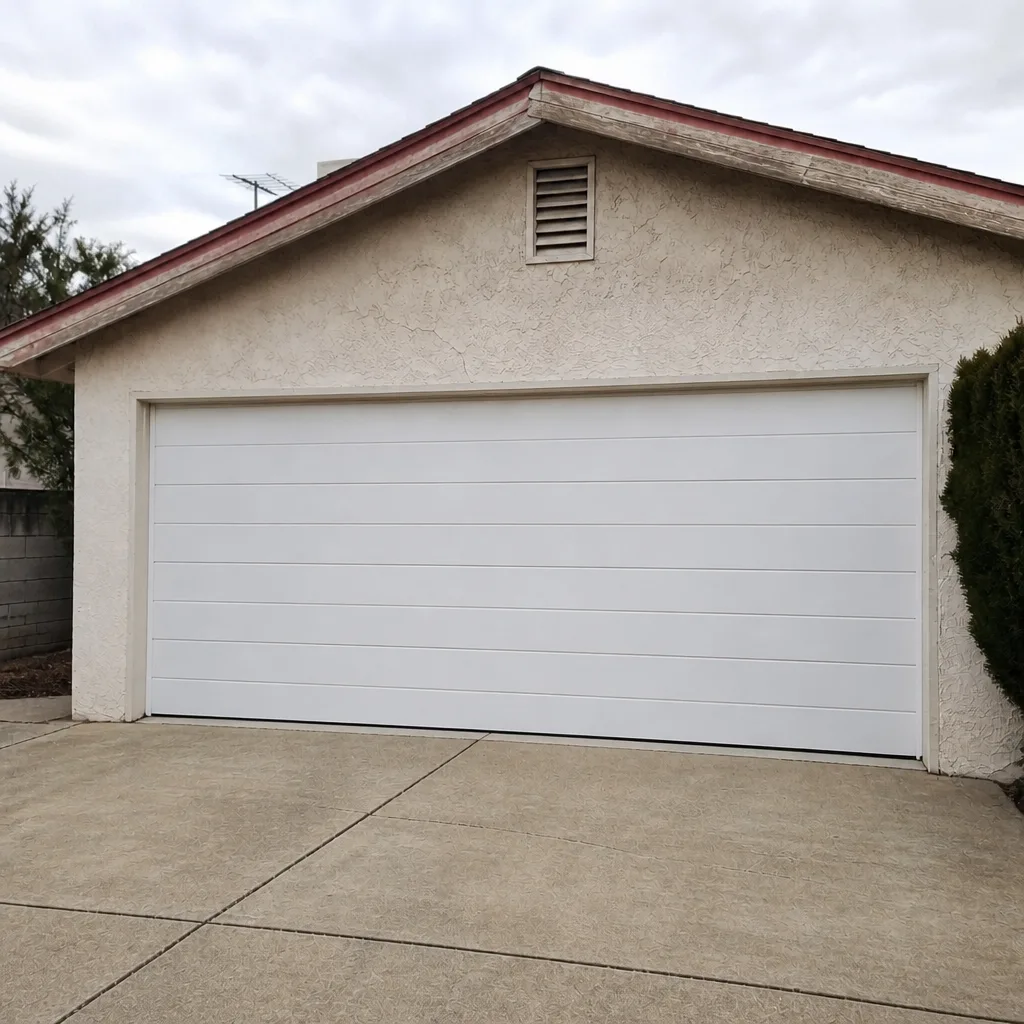 After
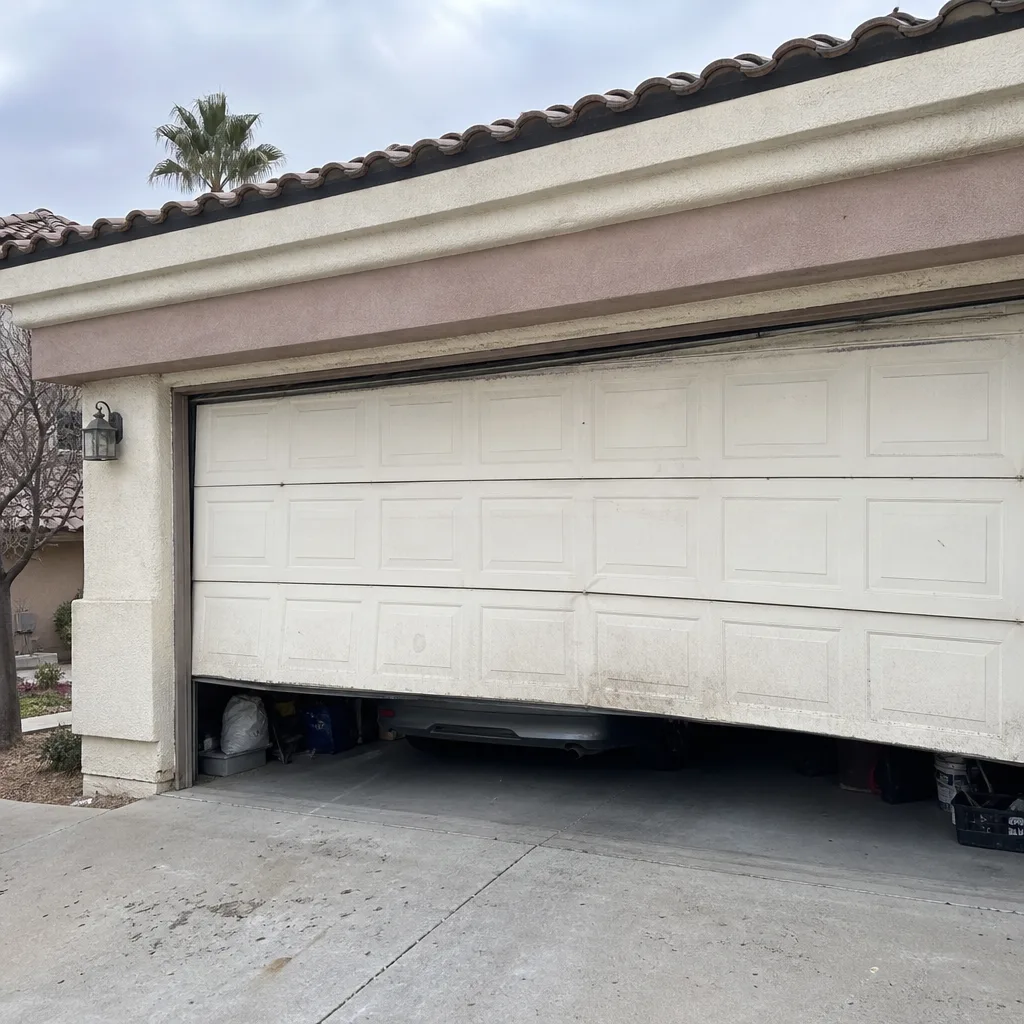 Before
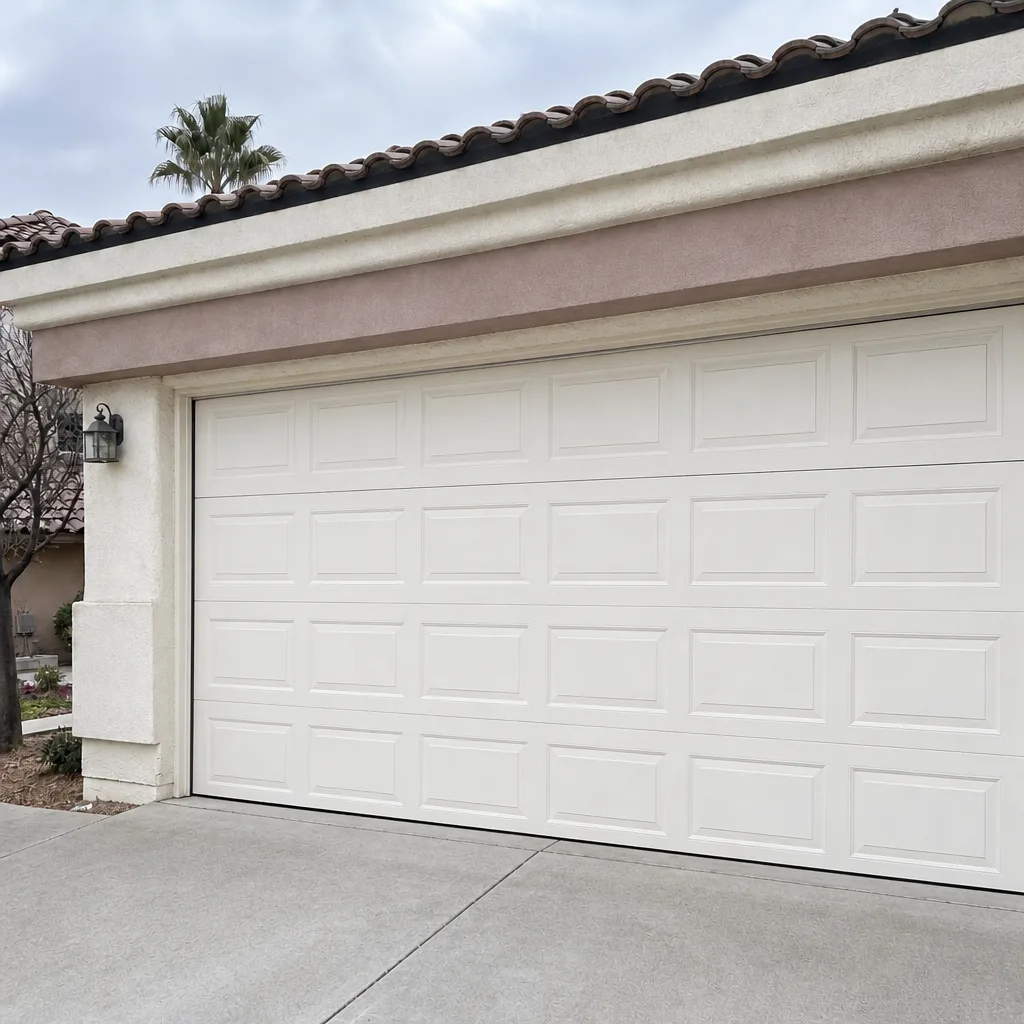 After
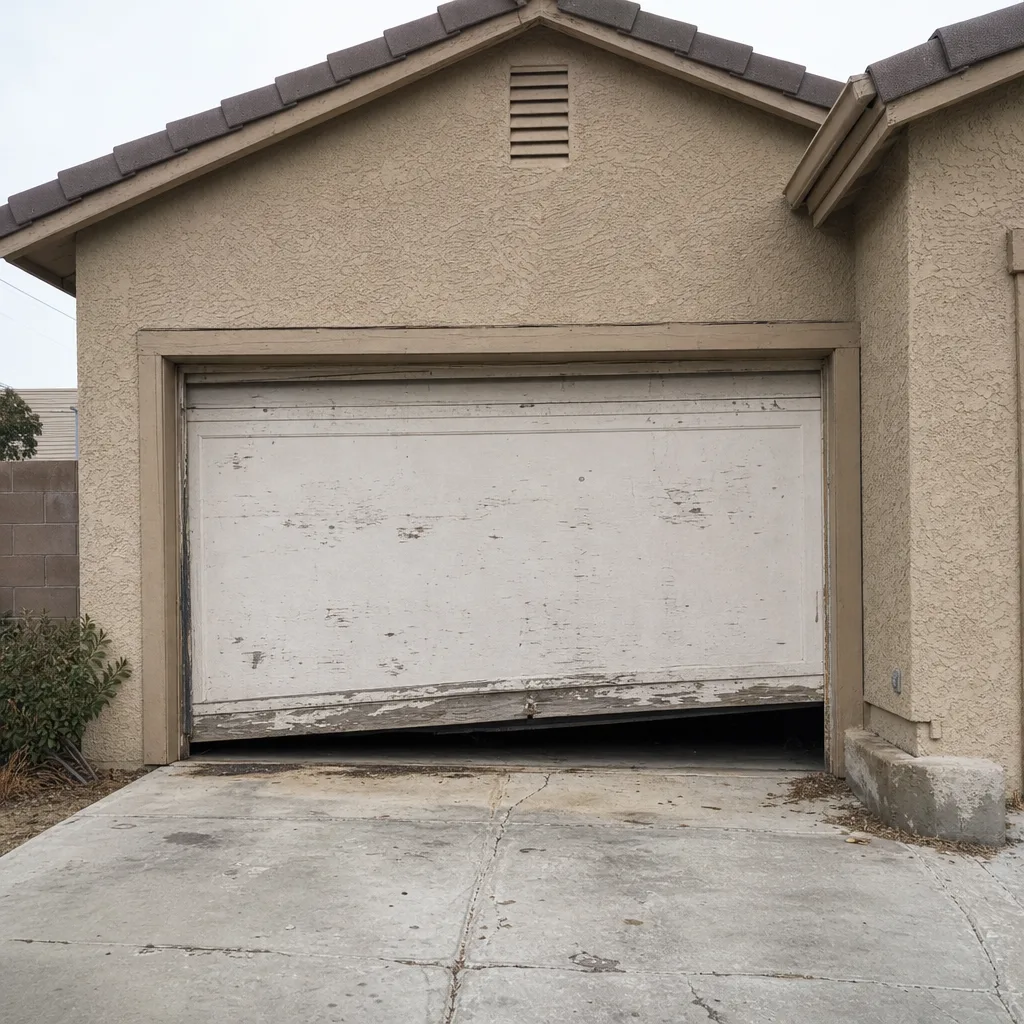 Before
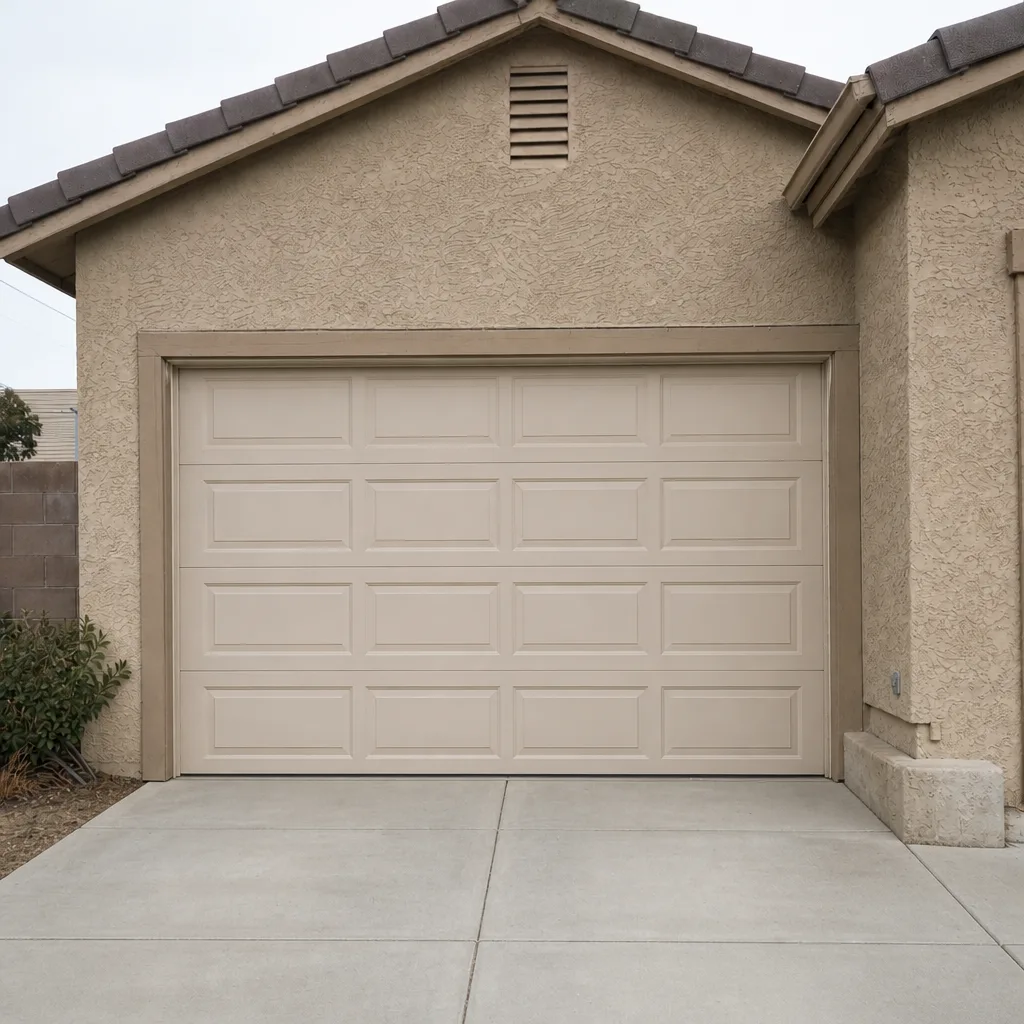 After
Common Mistakes to Avoid
- Accepting “it just needs to break in” as an answer. New doors don’t break in. They get adjusted. If your installer defers without a diagnosis, ask which component is out of spec and get it in writing.
- Adjusting spring tension yourself. Torsion springs store enormous force, and a mistake can cause serious injury. Leave anything on the spring line to a trained technician.
- Tossing the paperwork. Keep the install work order, the product warranty, and your dated photos together. Boulder City homeowners who document a problem in week one are the ones who get it fixed without an argument.
- Ignoring a slack or frayed cable. A cable that’s jumped the drum means the door’s weight is being carried unevenly. Stop using the door and call. This is a safety issue, not a cosmetic one.
- Assuming the opener will work with the new door. It often won’t without retuning. Test the force settings and travel limits at day three, not month three.
- Waiting past the 30-day callback window. Once the window closes, correcting an installation error can turn into a paid repair. Get the walkthrough done early.
- Skipping the wind check in Boulder City. After the first big spring wind, re-check the door’s alignment and seals. A new door that rode out the last windstorm is a door you can trust.
When to Call a Professional
Call on a cable that is slack, frayed, or off its drum, a spring that’s deformed or making a sharp bang, a door that reverses for no obvious reason, or anything on a door you’re not sure is hanging straight. These are the cases where a small problem can turn into a big one, and where the right move is a trained technician rather than a ladder and a set of wrenches. Mainspring Garage Door Co. Boulder City offers free estimates in Boulder City. Call (833) 605-8582 and we’ll send a technician who arrives with the parts on the truck, states the flat price before any work starts, and stands behind it for 90 days in writing. We answer the phone live, around the clock. If a second opinion is what you need first, we’ll give you one on any written estimate, no charge.
Frequently Asked Questions
No. A new garage door installed correctly should run smooth from day one with no reversing, grinding, or binding. Problems in the first 30 days are almost always installation errors, not product defects, and the installer should correct them under their workmanship warranty. If you’re getting a runaround, call (833) 605-8582 for a free second opinion before the window closes.
Timing and adjustability are the two tells. A problem that appears on day one and runs the full width of a component is more likely a factory defect, while one that appears on day three or fifteen and improves when a bolt is turned or a sensor moved is an installation error. Photograph it, date it, and put it in an email to the installer so you have a record. A free estimate from us will tell you which bucket the problem belongs in.
Your safety sensors are misaligned, blocked, or wired to the wrong terminal, which is an installation error, not a defect. Realign the two lenses so they face each other squarely about 6 inches off the floor with no direct sunlight hitting the receiver, and check the indicator light on each. If that doesn’t solve it, call (833) 605-8582. Estimates are free.
No. Torsion springs carry the door’s entire weight and store enough force to cause serious injury if released the wrong way. Leave spring adjustment and any cable work to a trained technician. Our technicians have up to 10 years of experience and handle this safely. Call (833) 605-8582 for an exact quote.
Maybe not. The first thing to check is whether the force settings and travel limits were retuned for the new door’s weight and travel during the install. If they’re set right and the door still strains, the opener is likely undersized for the new door. A free estimate will tell you. Call (833) 605-8582.
Most installers have a 30-day callback window, so run a full walkthrough on day three and again on day thirty, photograph the problems, and email the list with dates to your installer. That record is what makes the warranty stick. If the window has closed or you’re getting nowhere, call Mainspring Garage Door Co. Boulder City at (833) 605-8582 for a free estimate on correcting the work. Our Boulder City technicians arrive with springs, cables, and opener parts on the truck, so most corrections finish in a single visit. The flat price is quoted and agreed before anything starts, no surprises on the bill.
The Bottom Line
Problems that show up in the first 30 days after a garage door installation in Boulder City are almost always installation errors, not factory defects, and knowing which is which saves you an argument and a repair bill. The five defects that matter most are reversing doors, spring drift, grinding tracks, binding mid-travel, and op ner commissioning problems. Check on day three, check on day thirty, and document everything with dates and photos. If your installer won’t make it right, call (833) 605-8582. A square deal, a flat price before any work starts, and work backed in writing for 90 days is what we offer, and we’ll be there when we say we will.
Written by the team at Mainspring Garage Door Co. Boulder City.